When I set out to decorate my twins’ nursery, I knew I wanted to make my own crib skirt. I was so frustrated with the crib skirt I had for my first born that I was DETERMINED to DOMINATE in the crib skirt department the second time around. Plus, I knew it would be a LOT cheaper to make my own then to buy two separate crib skirts.

I set out to show those crib skirts who’s boss… and I failed. I totally screwed up this project. I ordered fabric and measured and cut and ironed and hemmed and velcroed and only realized that I had totally screwed up when I went to attach the skirt to the crib. I was FURIOUS. And also out of time, so I stashed the project away for a rainy day.
Weeks later, armed with pure hatred for these DAMN crib skirts that were sticking it to me AGAIN, I refused to give up and totally SALVAGED this project. TAKE THAT, CRIB SKIRTS!
Here is how to make a DIY No Sew Crib Skirt!
What you’ll need:
Several yards of fabric
Sharp scissors
Yard stick
Measuring Tape
Iron
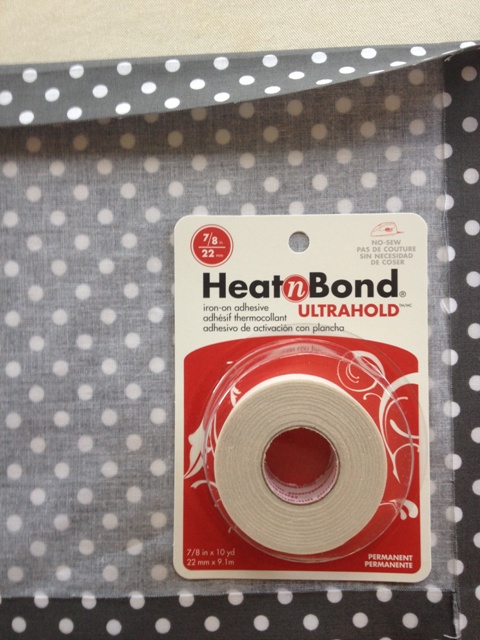
Heat-n-Bond Ultra Hold (see pictures below)
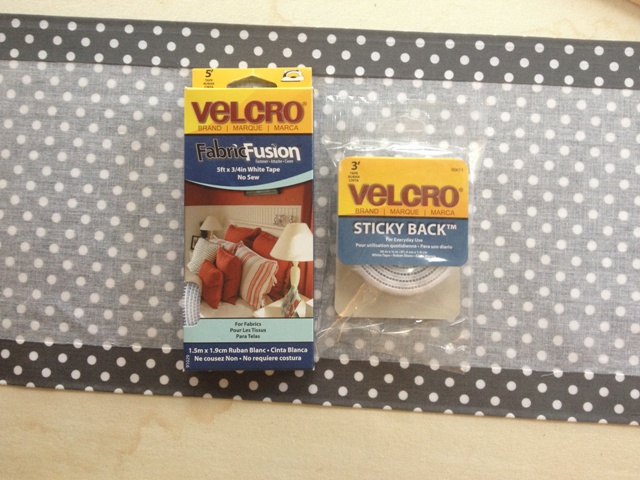
Velcro Fabric Fuse (see pictures below)
Velcro Everyday Use (see pictures below)
1. Measure your crib.
I took three measurements. The longest side (52.5”), the shortest side (27.5”) and the space from the bottom of the crib to the ground (19”). Add two inches to each measurement to allow for your hems.
STOP! LOOK AT YOUR CRIB CLOSELY! Every tutorial I found made it sound like I could just measure length, width, height, and be done. This is not true. My crib is the Graco Sarah 4-in-1 in White (which I absolutely love). The mattress spring attaches to the crib frame with a rotating metal arm.
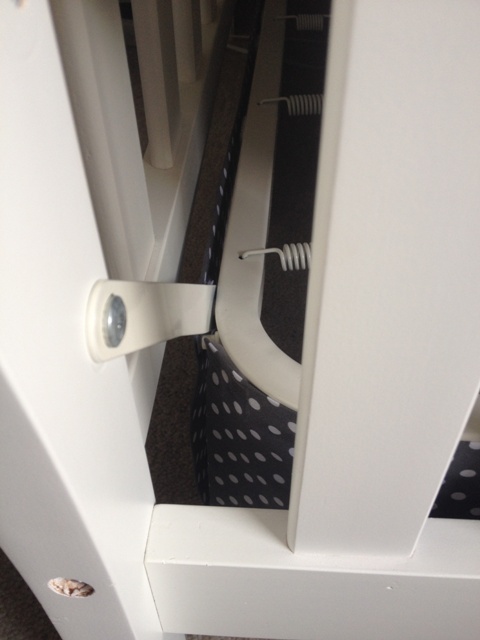
This metal arm effects the placement of my crib skirt, which I will be attaching to the mattress spring frame with Velcro. You need to look CLOSELY at your mattress spring to see WHERE the crib skirt will attach and if there is any portion of YOUR SPECIFIC crib that will change your measurements. In my case, the measurements were changed significantly. The “width” ended up being wider in order to wrap around the curved mattress spring frame, and the “length” ended up being shorter in order to allow room for the metal arm.
2. Choose your fabric & do some math
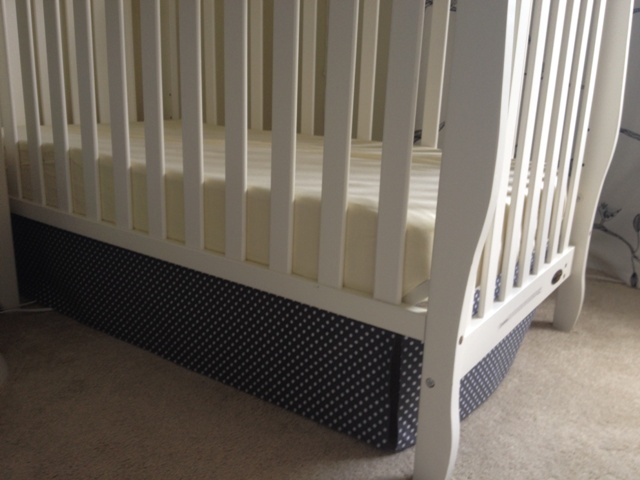
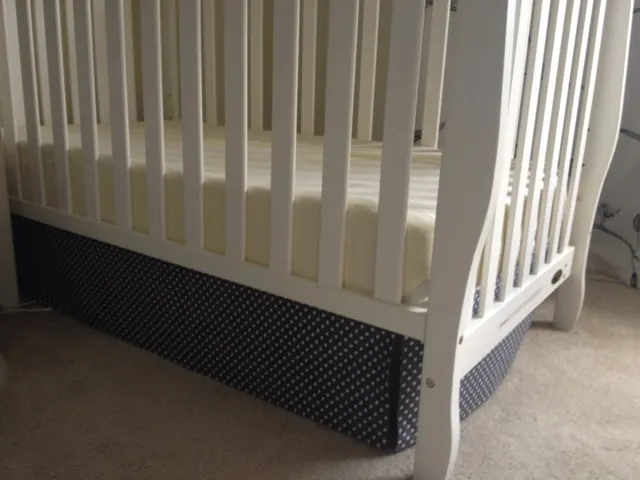
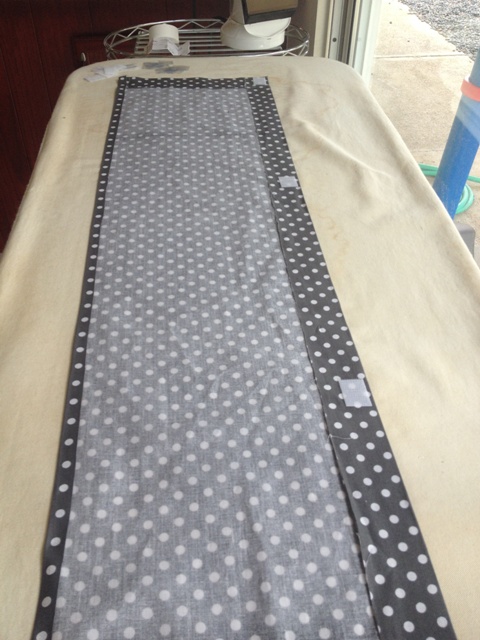
I found an adorable charcoal polka dot fabric for under $10/yard. SCORE! The fabric was 45” wide which meant I could cut it in half (22.5”) and would still have enough room to iron the seam. Since each crib was against the wall long ways, I just needed to add the lengths and widths to determine how many yards to order.
WAIT! BEFORE YOU ORDER FABRIC! Make sure, like, 150% sure that you are not going to need to cover all four sides. Every tutorial I read talked about having fabric in the front and on the sides of the crib. Who cares about the back? Well, I do. We have had to rearrange the cribs in the twins’ room a couple times which meant I needed all four sides covered to accommodate for the different configurations. If you are going to go to the work of making the crib skirt, I would suggest making it for all four sides, just in case.

3. Measure & cut your fabric
Now that you have your measurements for your specific crib, plus two inches to allow for seams, you can measure and cut your fabric.
For each long panel: the length of the long side (plus 2” seam allowance) by height (plus 2” seam allowance)
For each short panel: length of the short side (plus 2” seam allowance) by (plus 2” seam allowance)
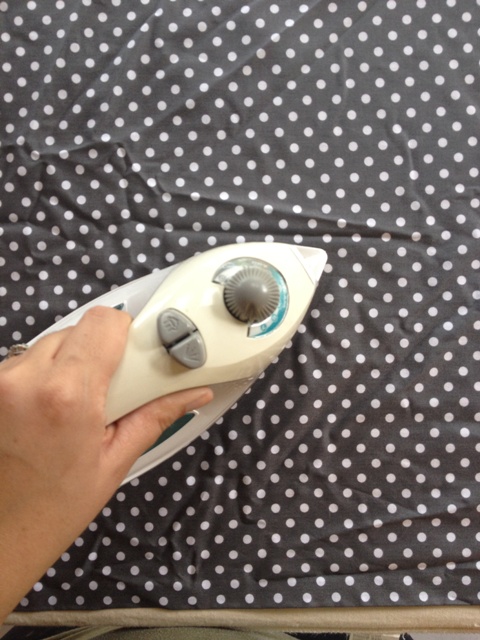
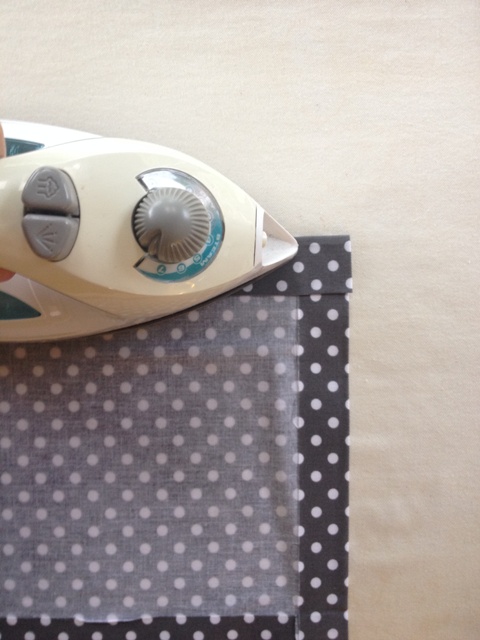
4. Iron and recheck measurements
Iron your panels, so they are nice and crisp. Then iron a 1” crease on each side where the seam will be, matching the measurements you have for length of the panel and height from the floor to the mattress spring.
HOLD ON! BEFORE YOU FUSE THE FABRIC, hold it up to your mattress spring frame and double check that your measurements turned out right. Iron one sample of the long panel and one sample of the short panel and hold each up where you’ll be attaching them to the crib. Then you can make adjustments to your seams before they are permanent.
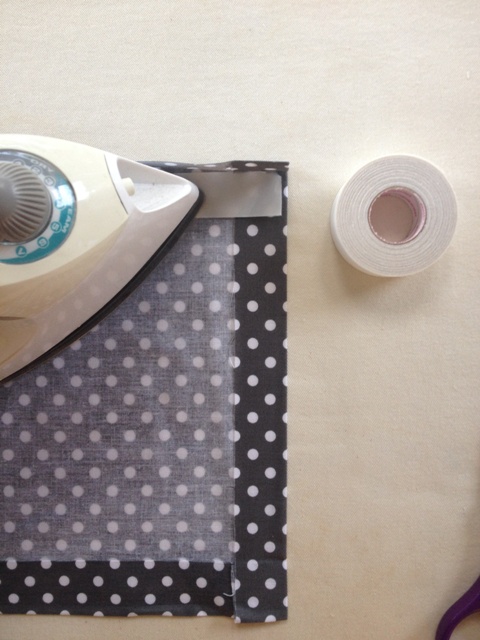
5. Fuse the fabric
After doing this MULTIPLE times, I found using Heat-n-Bond Ultra-Hold provided the most sturdy and crisp seam and also provided weight to the bottom of the fabric, helping it to hang down nicely. Cut the Heat-n-Bond to size, place it under your crease, and fuse as directed on the packaging. (As you drop the crib mattress height you can adjust the height by shortening the hems.)
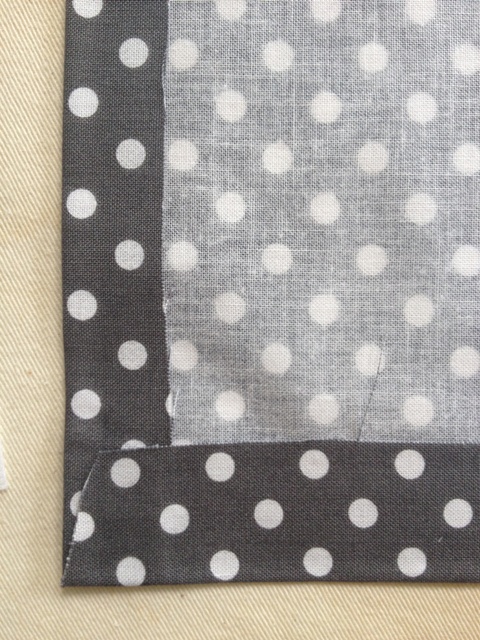
NOTE: you may want to cut the corners diagonally as shown here in order to make a crisper corner.
6. Apply Velcro to the top of each panel
I used Fabric Fuse Velcro on the fabric side and regular Everyday Use Velcro on the side I was sticking to the mattress spring frame. Cut small sections and attach to the fabric, ironing according to package instructions. Then stick small pieces of the everyday use Velcro to the newly fused sections.
7. Peel and Stick
While the velcro pieces are still attached to one another, peel the velcro backing off the everyday use side, leaving the sticky side exposed. Hold the crib skirt up to the mattress spring frame and firmly press each velcro section into place, attaching the velcro to the mattress frame.
AND DO A HAPPY DANCE BECAUSE YOU ARE DONE!! Woo hoo!!