If your kids are like mine, they want to give gifts to EVERYONE during the holidays. I love their kindness, but my budget can’t handle that much gifting. To save money but still encourage the kids’ thoughtfulness, we try to make some presents each year. Depending on how much time we have, we do everything from bake cookies and wrap them up, to more time-consuming DIY projects.
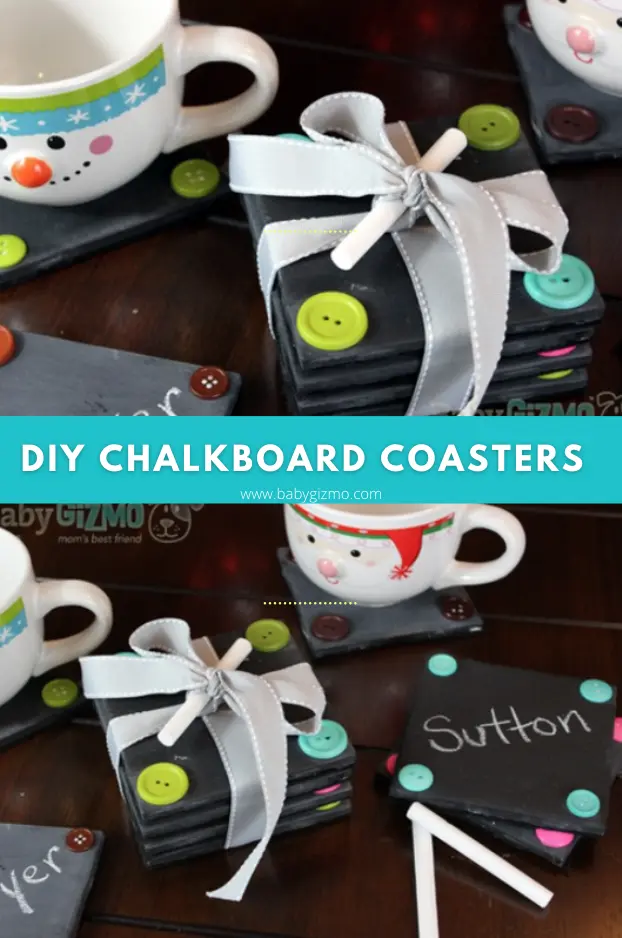
Today I wanted to share with you one of our DIY gift ideas that we just completed. This project isn’t hard but since we are dealing with chalkboard paint, it can take a few days with the drying process, so this isn’t one to throw in at the last minute.
These DIY Chalkboard Coasters tell the gift receiver that not only do you care about their furniture and don’t want them getting damaged by a cup or mug, but it also says that you and the kids took the time to make them a gift. Now, THAT is love.
You make these chalkboard coasters in about 2-3 days from start to finish. Don’t worry, it’s mostly drying time! I would recommend four coasters per gift.
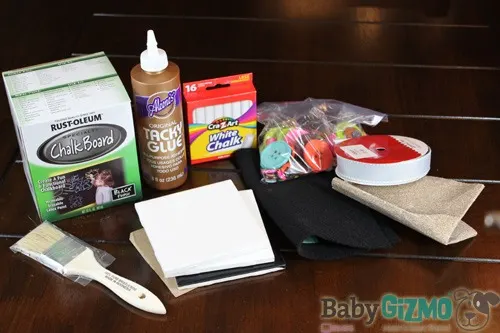
WHAT YOU NEED:
- white or black 4×4″ tiles (find them in the bathroom tile section of hardware stores)
- rough sand paper
- chalkboard paint
- paint sponges (they look like paint brushes but with a sponge in place of bristles)
- tacky glue
- buttons
- felt – I used black
- chalk
- ribbon
DIRECTIONS:
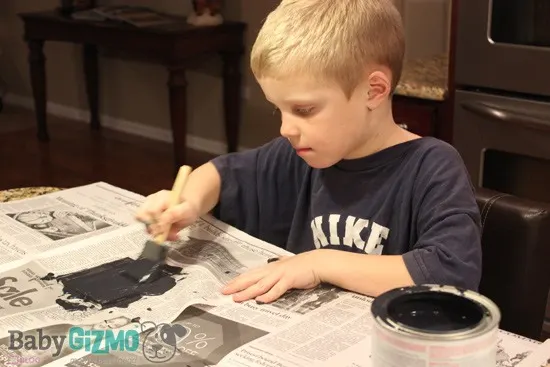
Cover your work space with newspaper especially if you are doing this with the kids. If you have glossy tiles, you will need to sand them slightly to help the paint stick better. Take a sheet of rough sand paper and try to rough up the gloss of the tile. Once you see some surface scratches on the tiles, paint a thin layer of chalkboard paint evenly over the top and sides.
You will need to do 3 coats of paint for the tiles to look and work their best. Let the paint dry for 2-3 hours between each coat. Apply the last coat of chalkboard paint and let it dry all the way (so the paint can cure!) for at least 24 hours.
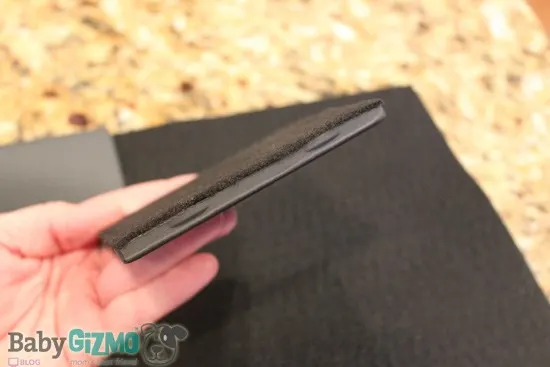
When the tiles are dry, glue a square of felt (I used black) to the bottom of the tile with tacky glue. I used the tile as a guide to cut a perfect fit square. Let the tacky glue dry completely (another 12-24 hours) by setting the chalkboard side down on a flat surface.
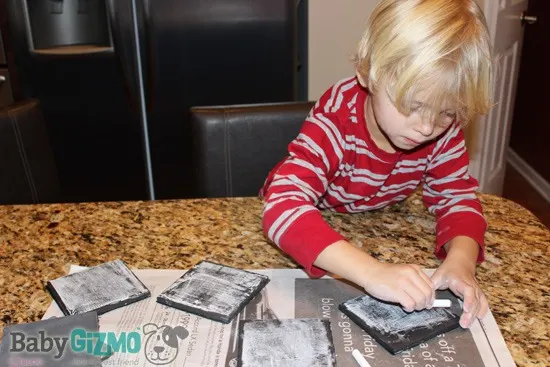
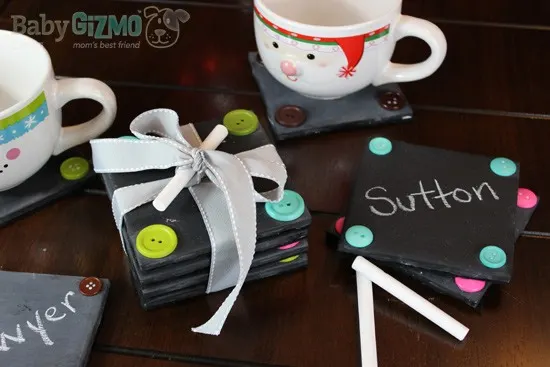
Next it is time to “season” the chalkboards by covering them completely with a thin coat of chalk by rubbing the long side of a chalk piece all over it. Do not skip this step! If you don’t season the chalkboards, the first thing you really write on the board my not erase completely.
Once the tiles are covered with chalk, wipe them clean with a dry paper towel.
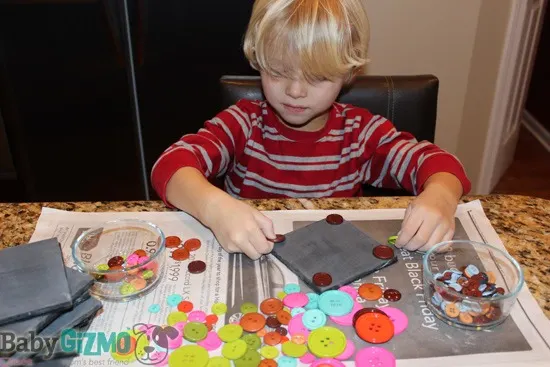
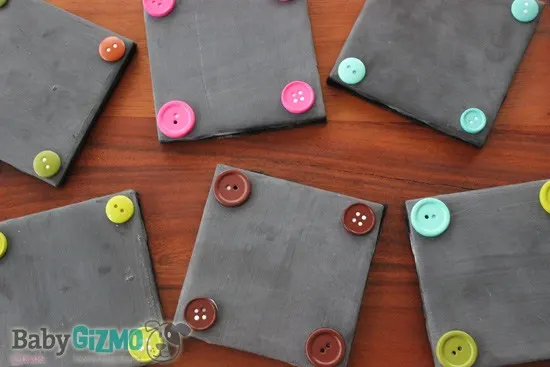
Now it is time to pick out and glue on the buttons for decoration. Kids love this part. We bought a big bag of different size buttons at Walmart, had the kids choose the small or medium-size buttons, sticking with one or two colors per tile.
Since we are using tacky glue the older kids can glue the buttons on themselves and the young ones might need a little assistance so they don’t get glue all over the tiles. Let the glue on the buttons dry completely. This will be another 12-24 hours.
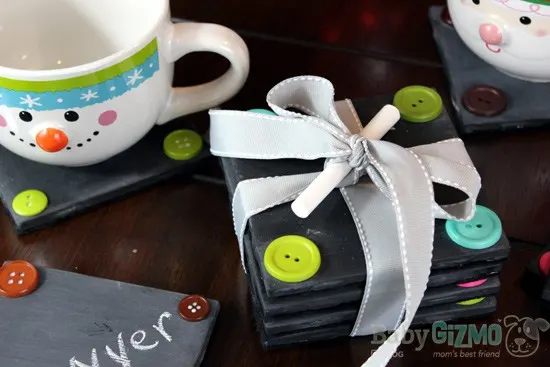
Once everything is dry on the little chalkboards, stack 4-6 tiles, wrap them with a pretty ribbon, include a piece of chalk or two and you have yourself the cutest gift for the holidays. This works for grandparents, aunts, uncles, teachers, and just about anyone you can think of! I loved this project so much that we made a set for ourselves to keep!
