
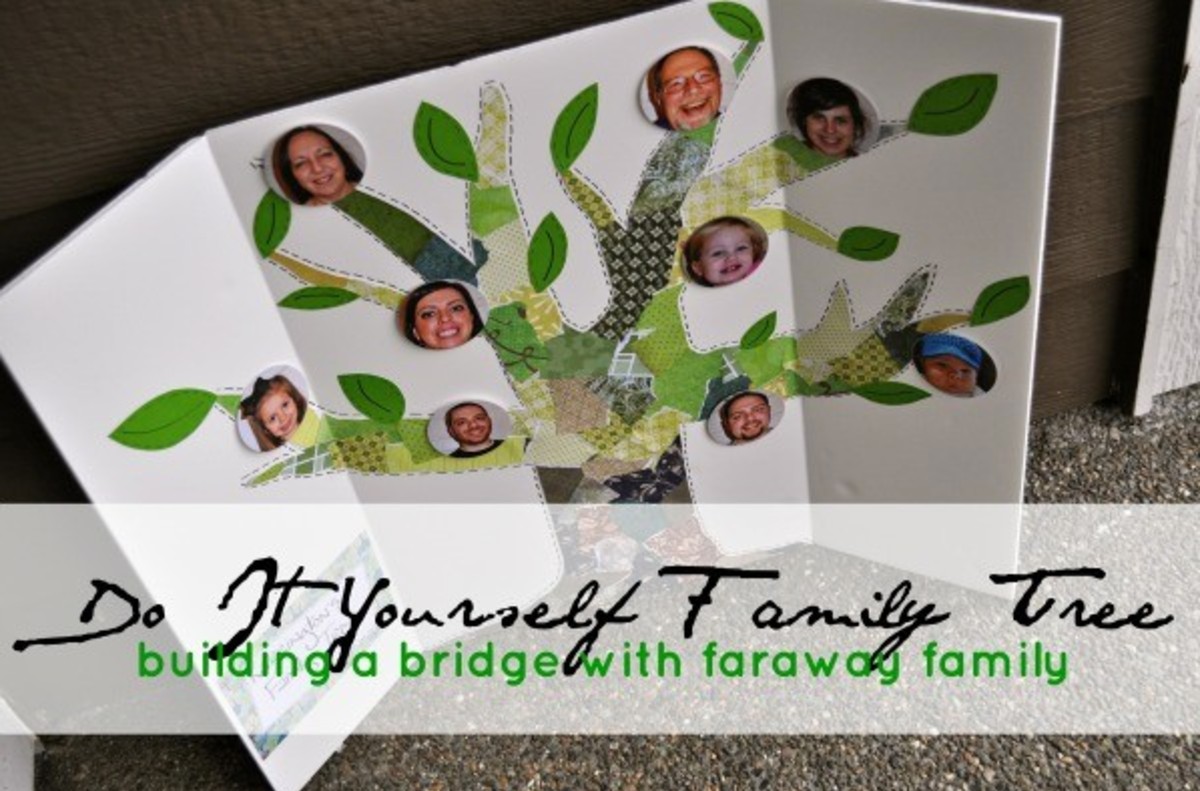
The holidays are pretty quiet around our house when it comes to visitors. Most of our close family is at least a state away if not half the country, but we are all doing our part to help grow relationships amidst the miles that separate us. One such way is this nifty DIY family tree. It’s the perfect way for our babies, toddlers, and preschoolers to practice name and face recognition.

This DIY is super simple. As a mama to my own baby and toddler all my projects must be completed within the span of a nap or two. This one totally fits that description. Happy crafting!
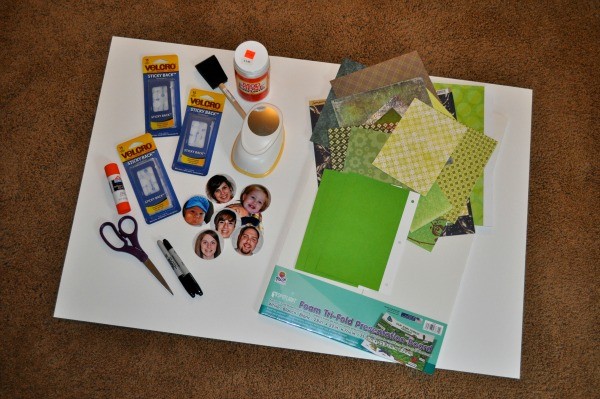
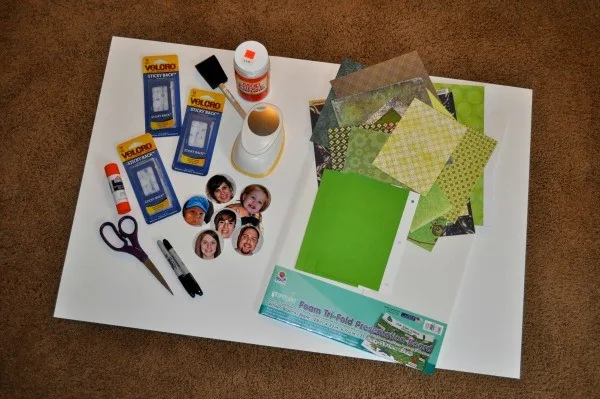
STEP ONE | Gather your supplies
I found all of mine at JoAnn Fabrics. You’ll need one foam tri-fold presentation board, a 2 1/2 inch circle punch, scissors, glue stick or rubber cement, Mod Podge, foam brush, black marker, pencil, one piece of large cardstock, Velcro hook and loop (enough dot sets for each person who will be represented on your family tree), one white index card without lines, and a mix of brown and green scrapbook paper.
In addition to your JoAnn’s supplies you’ll need to print 4×6 photos of each family member’s face and get them laminated at an office supply store.
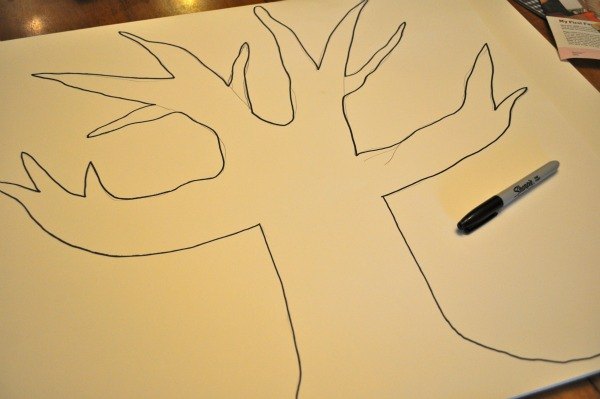
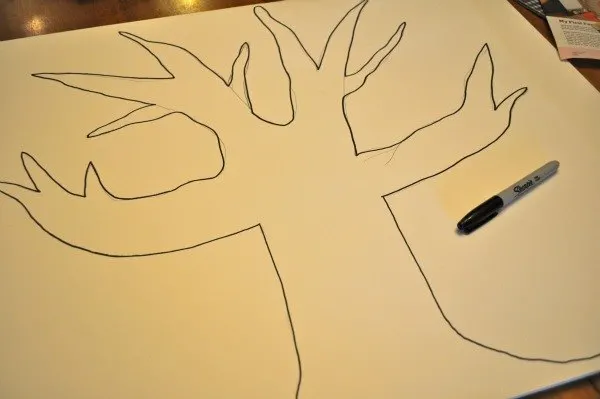
STEP TWO | Draw Your Tree
Cut your piece of cardstock to approximately the size of your presentation board and free hand your tree with a pencil.

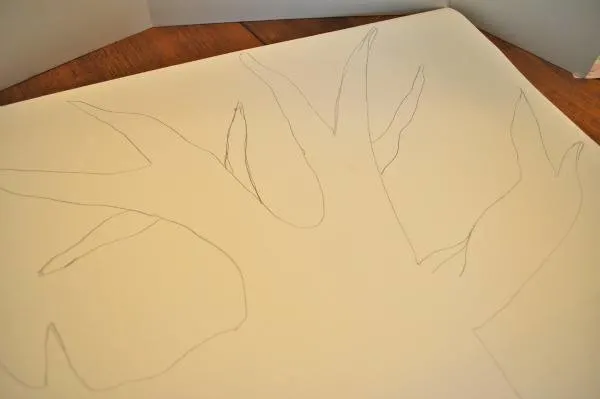
STEP THREE | Outline the Tree
When you get your tree just right, outline with a black marker.
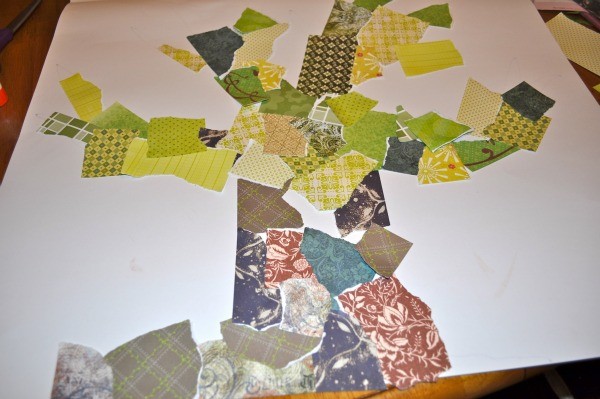
STEP FOUR | Decorating Your Tree
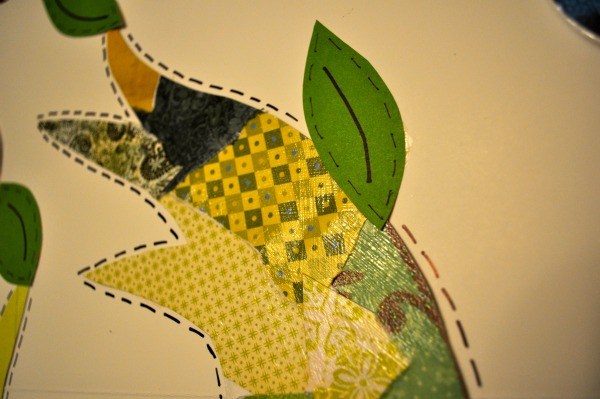
Turn your tree over so you can just see the black outline on the reverse side. Rip your scrapbook paper into various sizes and begin gluing. Make sure you overlap all the black lines.

STEP FIVE | Cut Out Your Tree
Roughly cut around your tree, flip, and cut along your black line for a close cut trim.


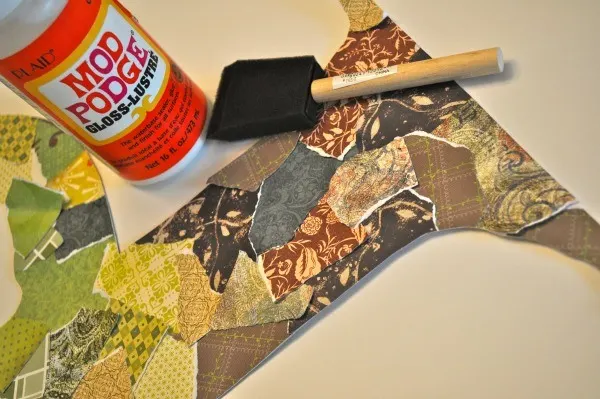
STEP SIX | Gloss Your Tree
Pull out your trusty Mod Podge and apply a coat to your scrapbook tree. Allow to dry and apply a second coat.

STEP SEVEN | Glue Your Tree
Once dry, glue your tree to your presentation board. Add leaves, and outline to create a border.

STEP EIGHT | Apply Photos
Apply each Velcro dot to the back of each photo and the desired location on your tree. Add a personalized title to your presentation board if you like.
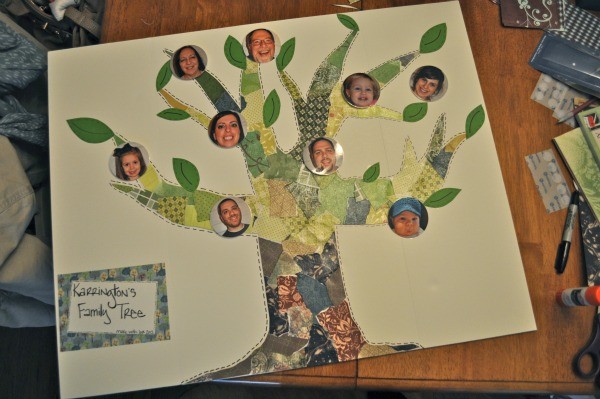

I love that this project can be updated over the years as our family expands and looks change – the main tree stays constant, but you can easily print new photos and update when time allows!
How do you help your children keep in touch with faraway family?