Ever since reading the blog: Play At Home Mom I have been obsessed with obtaining a light table. I also decided I wanted to go big since the table could become a multifunctional craft/train table for us. Unfortunately going big meant forking out over $500 for this table at constructiveplaythings.com. Even if I somehow rationalized this purchase they won’t ship something this large to APO addresses which means I am out of luck.
I decided to put my engineering degree to work and build one. Turns out it doesn’t require an engineering degree because it was rather easy.

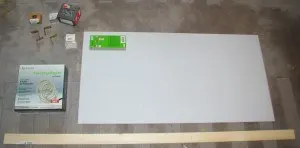
You will need:
- A drill
- A saw of some type. We used a jigsaw.
- L brackets
- 2 – 1×2 large pieces of pine
- opal plexiglass
- rope light clips
- rope light. We used a 10m long light but a shorter one would work out fine.
- small nails or screws to secure the rope light clips to your pine.
- screws of appropriate length depending on your pine and table thickness
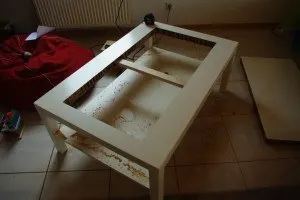
- Coffee table larger then your plexiglass. Preferably hardwood. We found a used ikea table.
- Center the plexiglass on the table and outline. Use jigsaw and cut along your outline. Once done check to make sure your plexiglass fits in the cut out.
 Next step is to make a frame for your plexiglass. First start by framing out the sides of the outline. Secure your pine frame directly to the table if the table thickness allows. If not you can use L brackets. Its important to measure out the thickness of your plexiglass and allow enough space above your frame for a seamless table top.
- We included an extra support piece in the center of the table to give the plexiglass maximum support. This also does a nice job of splitting the light table into two sides which will work out nicely when siblings want their ‘own’ space to work.
- Attach your rope light clips to the bottom of your frame.
- Attach rope light to the clips. We chose a serpentine pattern along the length of the table but any pattern should work
- Lay plexiglass on top of frame. There is no need to secure it with anything, gravity should do all the work.
- Plug your rope light in.
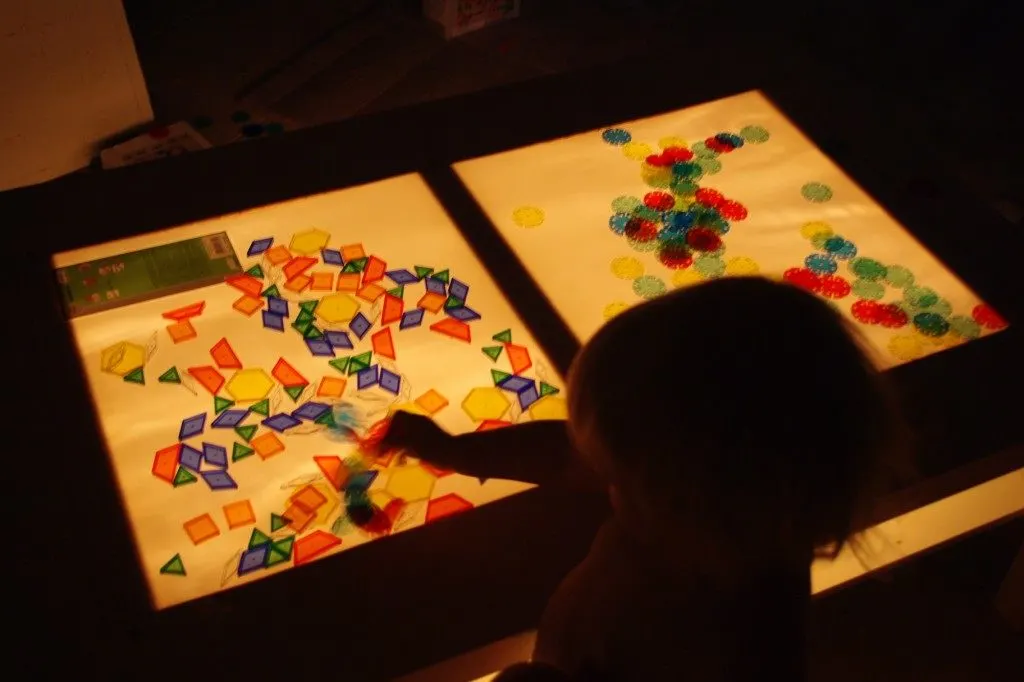
I have already purchased numerous new toys to use on our light table. Seen here are the Pattern Blocks and Crystal Connectors. Light table toy reviews will be coming soon after my testers, affectionately known as Thing 1 and Thing 2 have sufficiently used and abused them. Also in attempt to reduce waste I am hoping to use the table top that we cut out to make a new table. I figure I just need some legs and some trim or panels to cover the cut sides.


sheilla turner
Tuesday 12th of March 2013
I have a few questions about your new light table. I have a coffee table just like that and I am wanting to turn it into the same thing but I am very visual in making things, after I take out the glass, how and where do I attach the lights and keep the children from reaching under and grabbing them. Is this harder than what I am making it to be. Thanks so much
Theresa
Monday 26th of September 2011
I threw one together with a giant clear plastic bin and rope lights. I'm not much of a do it herselfer so I just found what we had laying around. You could use chrismas lights too. What other ideas do u have for playing on it? We used window crayons. Looked at how tissue paper looks on it. Any other suggestions?
Stephanie
Friday 16th of September 2011
Thats a very good idea to make at home. What was the price difference to build it compared to buying it?