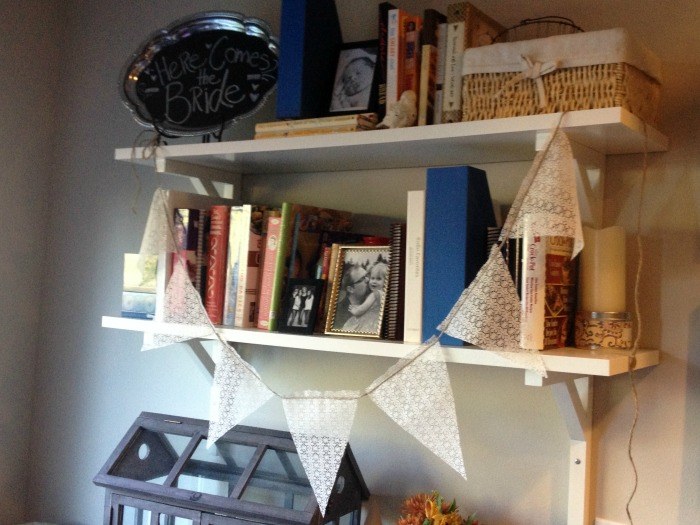
My youngest sister is getting married this month so my mama, sisters and I have been crafting it up in the decor department. My most favorite project was spearheaded by the mother of the bride … this simple bunting I’m about to step you through. As soon as the wedding wraps up you bet your britches I’ll be swiping a bunting or two to hang in my home; most likely my downstairs kitchen nook and my daughter’s bedroom.
Buntings are so versatile! They’re perfect for showers and party decor and add a darling flair to kid’s rooms. The best part? This simple version requires minimal sewing which is perfect for the beginning seamstress.
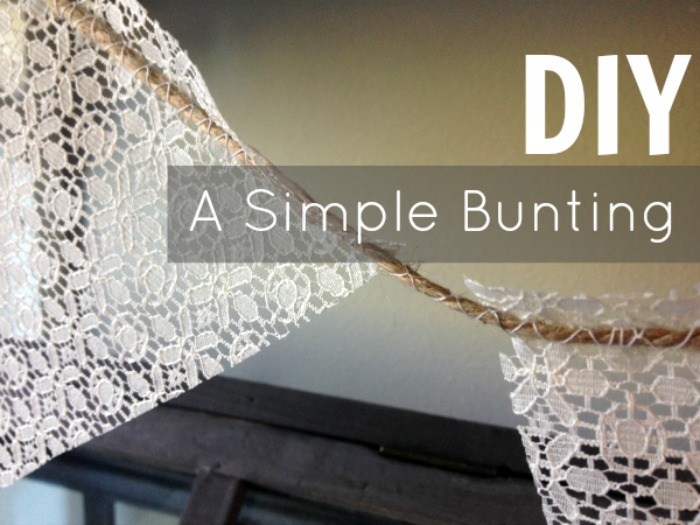
 A Simple Bunting
Supplies
- Quality fabric shears
- Fabric – your choice of lace, patterns or a mix, whatever fits your theme or bunting location best
- Thread
- Twine
- Sewing machine with zigzag stitch capabilites
Steps
- First, cut your pennants to size. I like my triangles to be approximately 6″ x 8″ x 8″. For a short bunting you’ll need 7 pennants, for a longer one, up to 20 or so.
- Thread your machine and set to a zig zag stitch.
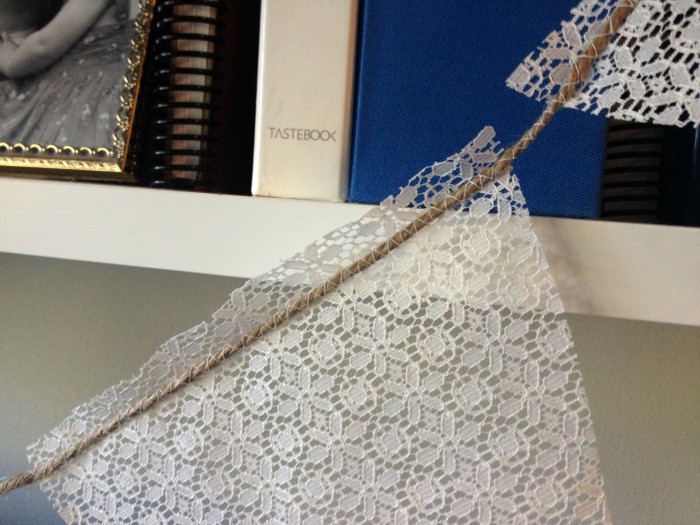
- Measure out 12″ of twine and then run your twine right on top of the first pennant, begin sewing. See photo for a close up of what I mean. The goal is to zig zag right across the twine, jumping back and forth to secure the twine to the top of the pennant.
- When you reach the end of the pennant allow the zig zag stitch to run along just the twine for an 1″ or so, then tuck your next pennant underneath the twine and continue stitching on top.
- Continue until you reach your desired length of bunting and then trim your thread, stretch your twine another 12″ and cut the twine.
I love the look of unhemmed lace and the zig zag with twine gives a soft but rustic look. Of course, you can apply these steps to any combination of materials like canvas and ribbon. You can even fancy things up with pinking shears during your initial cut. Let your creativity flow!