Easter is upon us and every time we hit the grocery store or run a quick errand, my daughter sees the PAAS display and reminds me that we need to get an egg dyeing kit. Am I the only who’s totally bored by the idea of spending an hour hard boiling eggs (twenty minutes in your Instant Pot!) just to spend thirty minutes dropping them into cups of colored water and watching them change color?
If you’re really fancy—like me!—you spring for the deluxe kit, which means you get to spend a few seconds using boiling water to shrink wrap plastic around a few of the eggs, too. So, in an effort to make things a little more fun for me and for my kid, who is a fan of arts and crafts, I spent some time looking for fun Easter egg decorating ideas. You lucky ducks get to benefit from my hard work. Here you go!
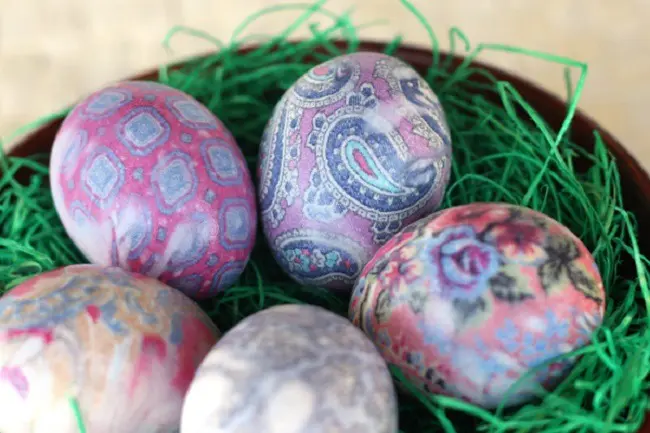
Silk-dyed eggs:
This sounds so fun! It might be a better choice for older kids because you’re working with raw eggs, so they’re going to be a bit more delicate. Plus, you have to have better fine motor skills to accomplish the wrapping well enough to get good results. If you don’t want to find your own silk, you can find kits on Etsy.
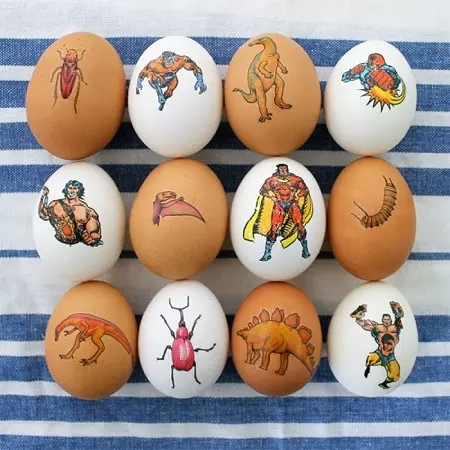
Tattooed eggs:
I came across an article suggesting creating images for blown-out eggs using temporary tattoo paper and then lovingly applying these beautiful images to create eggs decorated with amazing nature-inspired designs. And I was like, “Nah. I got a ton of ugly temporary kids’ tattoos from goody bags, gifts, and my own ill-considered purchases, and my daughter would be thrilled to slap those suckers all over her Easter eggs!” Just follow the package directions to apply the tattoos to hardboiled eggs, same as you would to apply them to your kid. (Lost the directions? I’ve got you covered.) Easy-peasy.
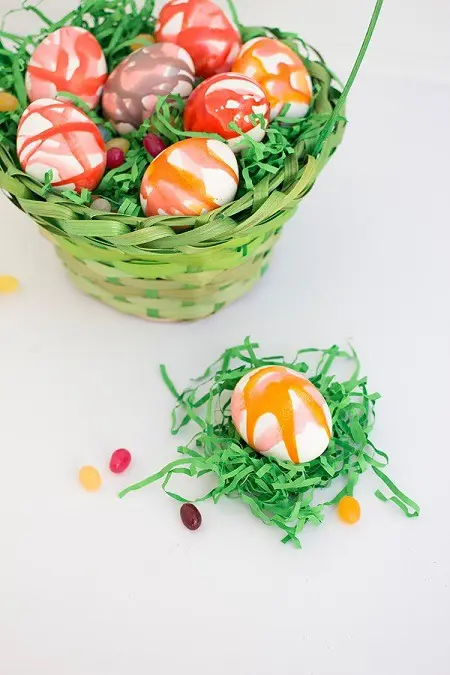
Kool-Aid eggs:
You might have heard that you can use powdered Kool-Aid mix to dye eggs, but I came across something else you can do with Kool-Aid products. I like it even better, because the results look so neat, and, quite honestly, the prep work is even easier. Using liquid Kool-Aid mix containers, drip the liquid mix over hard-boiled eggs to create fun, abstract designs. That’s it! I’m excited to practice patience with my daughter and see what kind of designs we can create when we let the colors dry between applications.
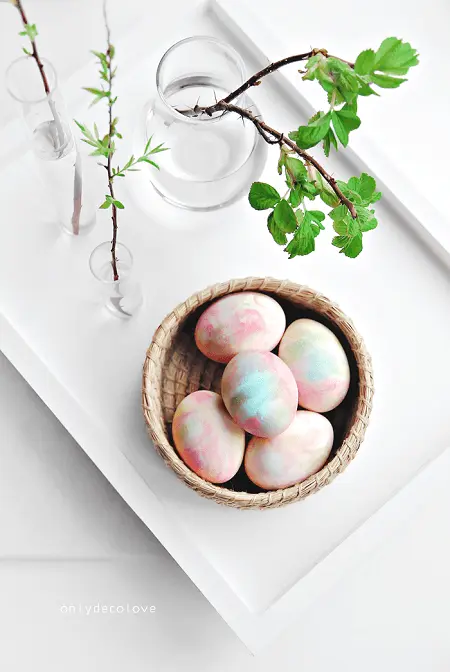
Whipped-cream-dyed eggs:
I remember a post going around last year about using shaving cream to dye Easter eggs. It made for really pretty eggs, but there was a huge debate among my parent friends and groups about whether it would then be safe to eat the eggs after they were dyed. Well, problem solved by this technique, which uses whipped cream instead!
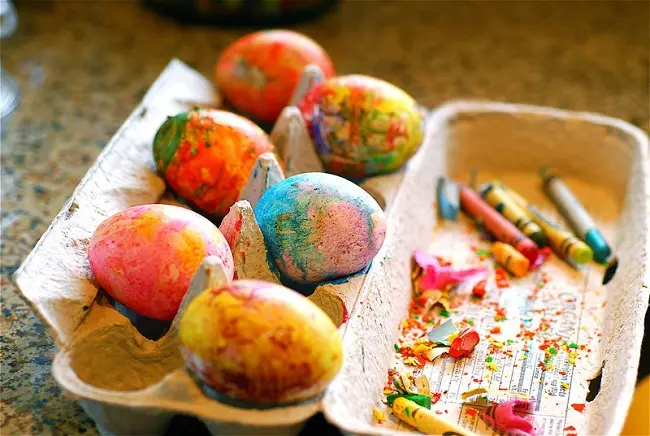
Melted crayon eggs:
Many of us are familiar with using a crayon-resist technique when dyeing Easter eggs, since even a basic kit usually includes a clear crayon. This technique moves the crayons front and center, though, and uses melted crayons to color the whole eggshell. Because the project involves working with fresh-out-of-the-oven-eggs, the tutorial includes suggestions for safely working with both older and younger children. And this tutorial has a tip for safely getting melted crayon on the whole egg.
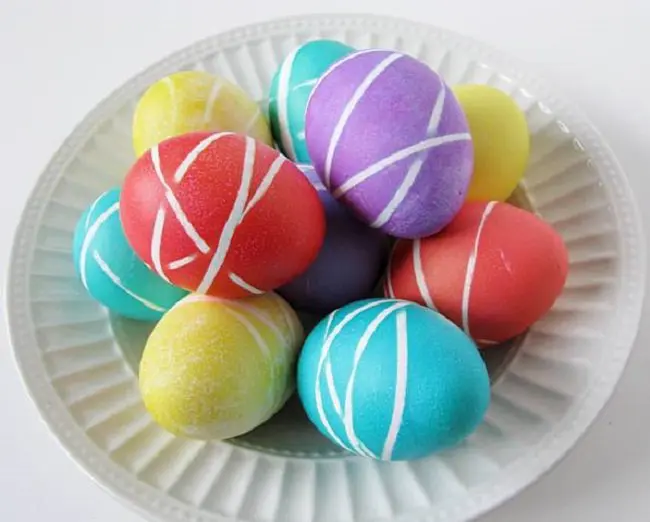
Rubber band eggs:
This is a fun way to step up your egg-dyeing game if arts and crafts aren’t your thing and you have no real desire to go any further than a boxed egg-dyeing kit. Fun patterns on the egg, not a whole lot of effort, and no additional mess.
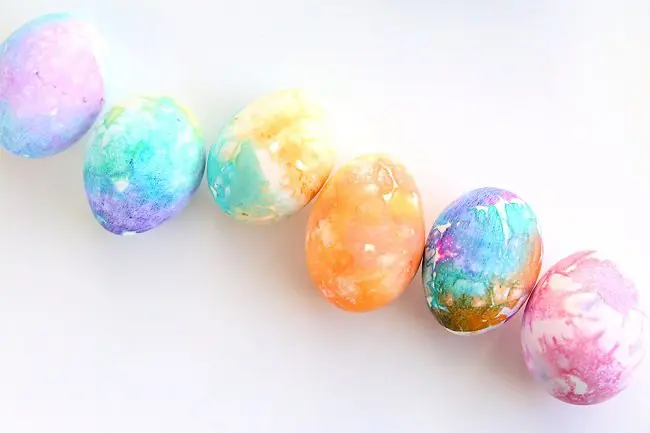
Tissue paper eggs:
I have to question the blogger’s assertion that this is less messy than dyeing eggs the standard way, but then again, I have a particularly neat kid, so I’m not always the best judge of mess level. Anyway, the result is gorgeous, the project looks fun, and it’s way more entertaining than sitting around watching eggs in cups.
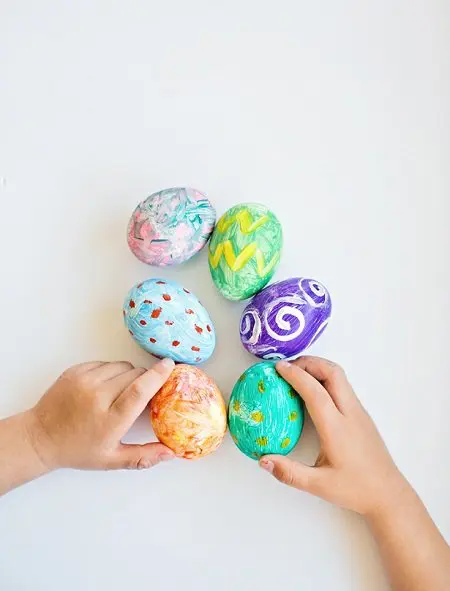
Watercolor eggs: Instead of dyeing, why not just go for paint? One of my pet peeves about dyeing Easter eggs is that it takes forever to set up and clean up, and not much time to actually do the project—and most of the time “doing” the project is actually spent waiting around. I love the idea of painting the eggs, because it means that my daughter is engaged for the whole time she’s decorating the eggs. I will say, though, that I’d probably use acrylic paint because that’s what I have on hand, even though I’m sure the watercolor paint is prettier.
Okay, so before I go I have one warning. I am not a food safety expert, nor am I an egg expert, however, I respectfully suggest that if you’re putting non-food-safe items on the outside of your eggs, you should not then eat the eggs. Better safe than sorry. That being said, have fun decorating! We’d love to see your pictures in the comments on this post on Facebook!
