When we moved into our current rental, my oldest was about to turn two, and we had twins on the way. Setting up a safe environment for our toddler and soon-to-be newborns was super important to us. For the most part, the home was easy to safeguard. Except for the banister; we desperately needed a banister guard.
Of course, our childrens’ safety is paramount, but we didn’t want to spend an arm and a leg covering the lengthy banister, especially with something unsightly. We looked into clear plastic guards, but it seemed that all the reviews mentioned a lot of scratching rather quickly, making the banister guard look dirty all the time no matter what.
We looked into some other netting options, but they were all really expensive for the length of banister we needed to cover. After some research, we decided to tackle it ourselves.
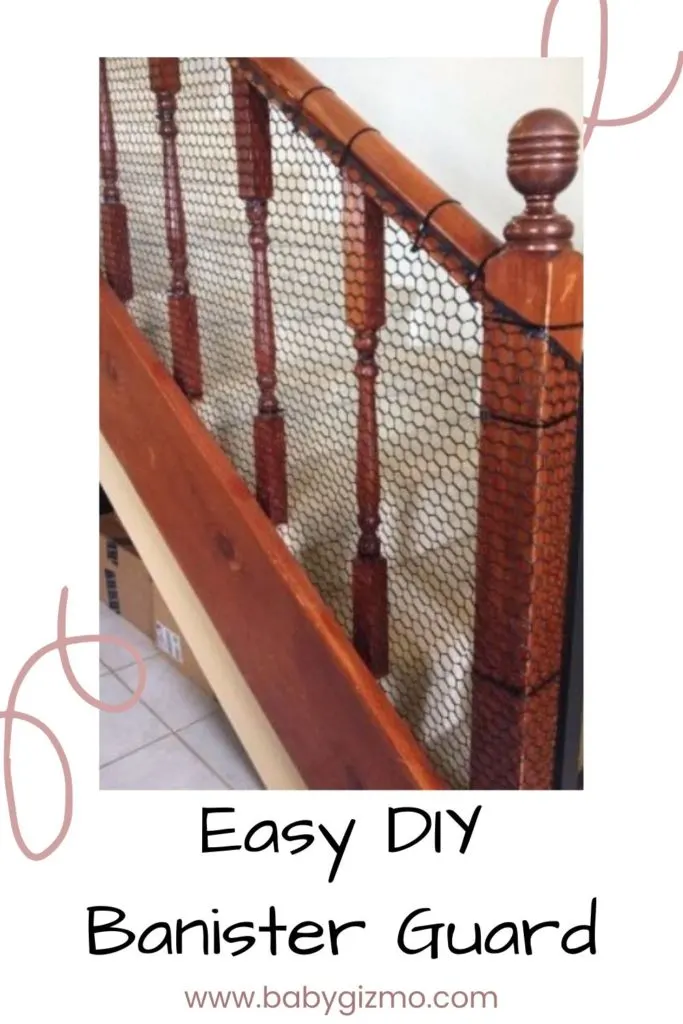
Here’s an easy, inexpensive DIY Banister Guard
Supplies:
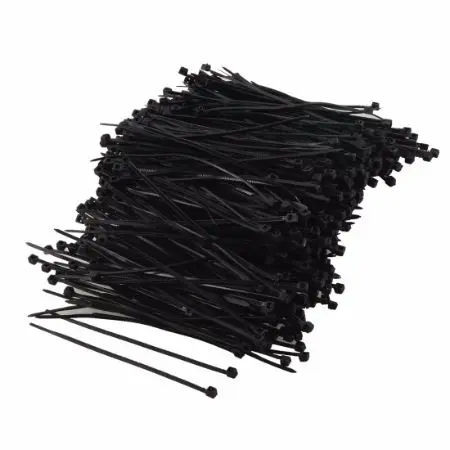
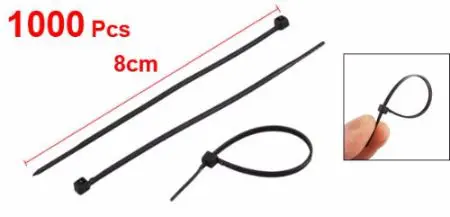
Black Cable Ties (Zip Ties) ($5)
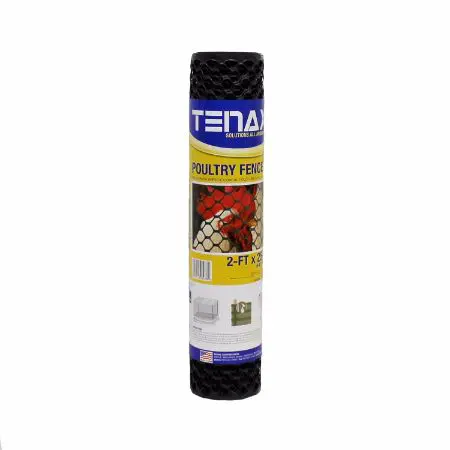
Black Plastic Poultry Fencing ($20)
Heavy Duty Scissors ($6)
How It’s Done for a Banister Guard:
- Begin rolling out your poultry fencing at the base of your banister
- Secure the fencing loosely with a cable tie every few feet
3. Continue this way until you have covered the entire length of your banister (do not trim at the end just yet)
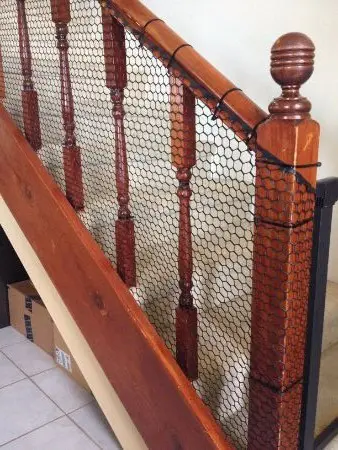
4. Go back to the beginning and tightly secure the poultry fencing to your banister using cable ties. We used one cable tie every 12-18 inches or so on the railing, as well as three cable ties on every banister pole (top, middle, bottom).
5. Trim the excess tails on your cable ties careful not to leave sharp edges
6. Go to the very end and trim the fencing off from the rest of the roll
7. Secure the last edge of fencing to the end of banister with cable ties
And here is the final look! Looks great, super inexpensive, and most importantly, VERY secure.
