I am in love with my new house. There, I said it. It’s a fantastic house filled with so many great features and is giving us so many project ideas that we can barely keep up with ourselves. We have been working on the kids’ playroom a lot lately because they tend to spend quite a bit of time in there during the summer. Believe me, I have this room all planned out and I can’t wait to show you the entire thing once it is done.
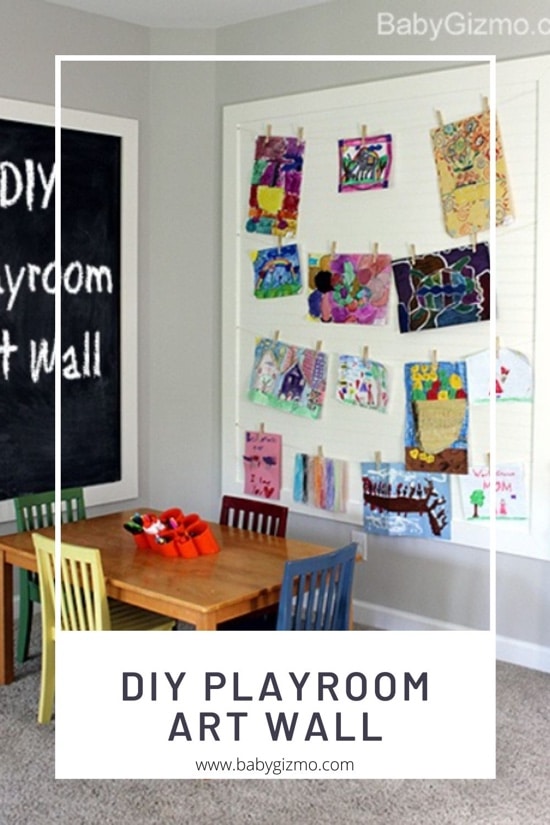
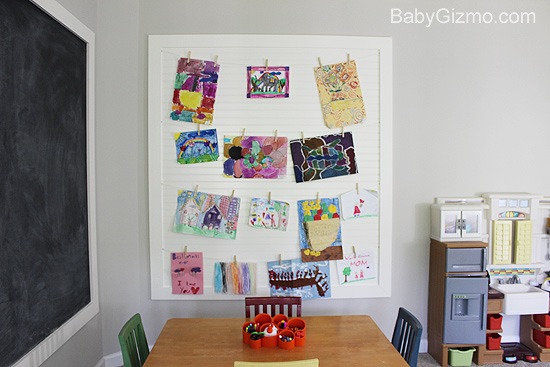
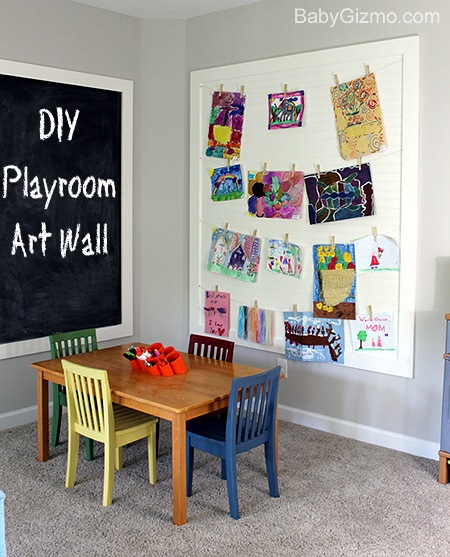
First, we did the DIY Ikea Billy Built-ins. Now we are on to the “Art Corner”. This is the space that is dedicated to drawing, coloring, cutting and using their artistic imagination. We did a massive chalkboard on one wall and this weekend we created a giant art wall to display all their work.
You know how many art projects that kids bring home from school and they want them ALL displayed. Well, I don’t display them all but this huge wall will give me a space to hang all their masterpieces and swap them out as they create new ones. Plus, it doubles as wall decor. Win-win.
This art wall idea was featured in our “Building a House with Pinterest: Playroom Edition” but since there is absolutely no where to find where the original photo is from online, I have no one to credit for the idea. We used that photo as inspiration and built our own. It’s easy to build and I love that it is a dedicated space for art!
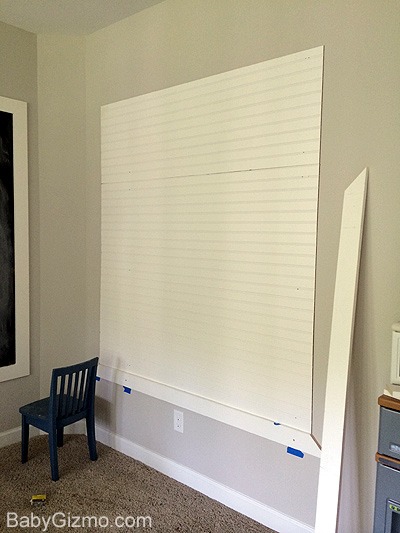
Our Art Wall is 62″ wide by 72″ tall. That is a BIG art wall but it had to match our massive chalkboard so that is the size we built. Yours doesn’t have to be nearly that big. We had to have two 4×8 sheets of panel board cut down to size and had to piece two large pieces together to get the size I needed. (You would never know that by looking at the finished product though!)
What you need:
- White Panel Board (I used two 4×8 sheets and had them cut down at Home Depot)
- White Trim Board
- Paintable Caulk
- White Paint
- 2″ Screws
- Wood Putty
- 2″ Finishing Nails
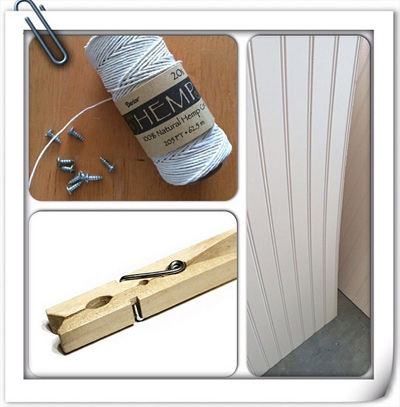
- Hemp Cord (You can get it at any craft stores such as Michaels)
- Clothes pins
How to Build it:
Cut your panel board(s) to the size you’d like your art wall to be. We used ScotchBlue tape (the painter’s tape so it wouldn’t mess up our paint when I removed it!) to mark off our wall where we wanted the board to be. While someone else holds the board in place, use your 2″ finishing nails to attach the board to the wall.You will need to find the studs and nail there. If you can’t line up to the studs in the wall, you will instead need to use 2″ screws and anchors to make sure the paneling is secure. Make sure to use a level to keep the board straight.
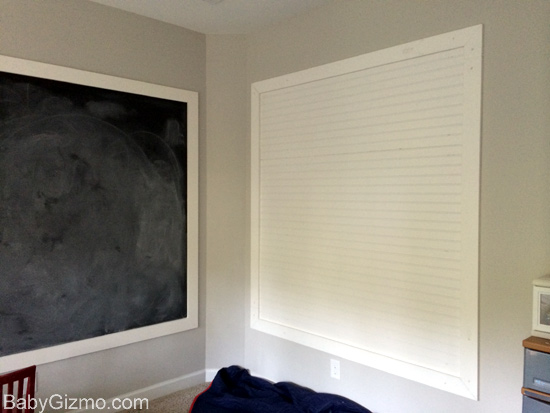
After the paneling is secure, measure and cut the trim board with angle cuts to fit each side. You are basically framing the outside of the paneling. The trim goes up against the paneling NOT on top of it! Starting with the bottom trim, use your 2″ screws to secure it into the wall. Find the studs in the wall!
Repeat with the rest of the trim in a clockwise pattern until all the trim is secure.
Use the paintable caulk to fill all the lines down the sides. Since we had to use two panels (one on top of the other!) we also filled that line with caulk to make it all look like one large piece. Cover your screws and finishing nails with wood putty.

When the caulk is dry, paint the entire board and trim white. I started by painting the trim with a paint brush and ended by using a roller to paint the inside panel. I used Valspar “Dove White” paint from Lowes because that is the same paint and color that we used on the chalkboard and Billy Built-ins in the playroom.
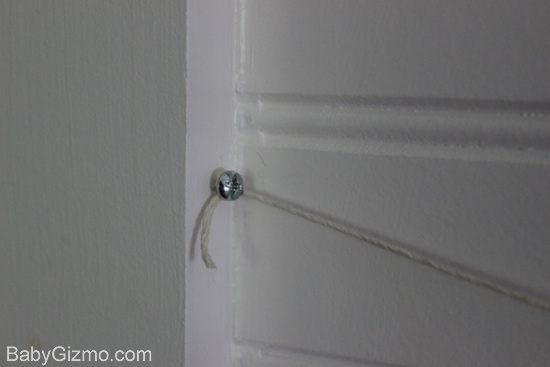
After the paint dries, it’s time to hang the actual art hangers. Measure the hemp cord from side to side leaving a little slack in the center and enough on the ends to tie it on the screws. Cut four cords that length. Tie one piece of cord to a tiny 1/4″ screw. Screw it into the inside of the white trim. Repeat by tying the other end of the cord to another screw and screw it into the opposite side trim. Make sure to keep those screws at the same height.
Repeat evenly four times down the panel. Hang 5-6 wood clothes pins on each hemp cord.
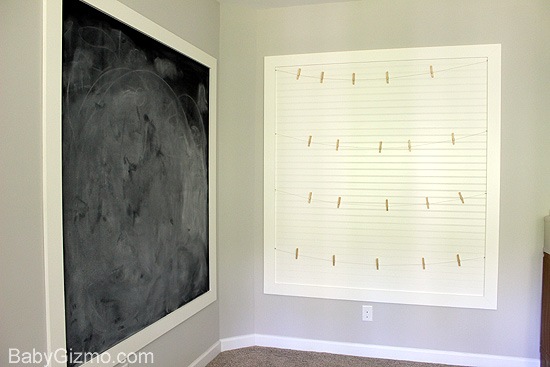
That’s it! Just hang the children’s art!