
We Finally Built the Outdoor Shed – And I Have Thoughts! (Spoiler: It’s a Game Changer)
Okay, so let me start with this: when your garage is only big enough for two cars and your family owns a riding mower, five bikes, two scooters, a power washer, and approximately 37 garden tools… you need a shed.
We’ve been tripping over stuff in the garage for months, and when hurricane season started inching closer here in Charleston, South Carolina, I knew it was time to do something about our storage situation. After way too much time comparing options online (anyone else go down that rabbit hole?), we landed on the Lifetime 10×8 Outdoor Storage Shed — and let me tell you, I’m so glad we did.


Why This Shed?
We picked this particular shed because it checked all the right boxes for us.
- DIY-friendly? Yes.
- Sturdy? Definitely — it’s got a steel-reinforced construction and heavy-duty plastic panels that are way stronger than I expected.
- UV-protected? Yup — which is huge in our climate where the sun is basically out to destroy everything.
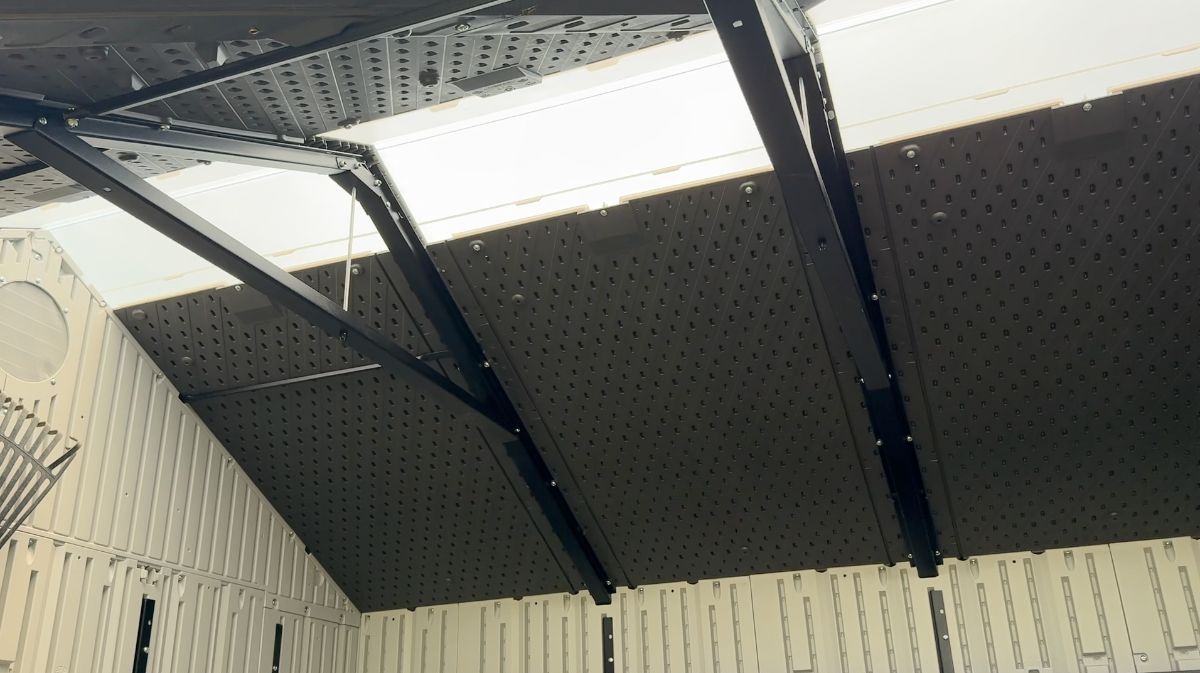
- Water-resistant roof with a nice pitch? Perfect for fast drainage when the Charleston skies decide to open up (which is often).
- Built-in skylights? Yes, and they make such a difference! The natural light keeps the inside bright and airy — no more fumbling around in dark corners.

The Build Process
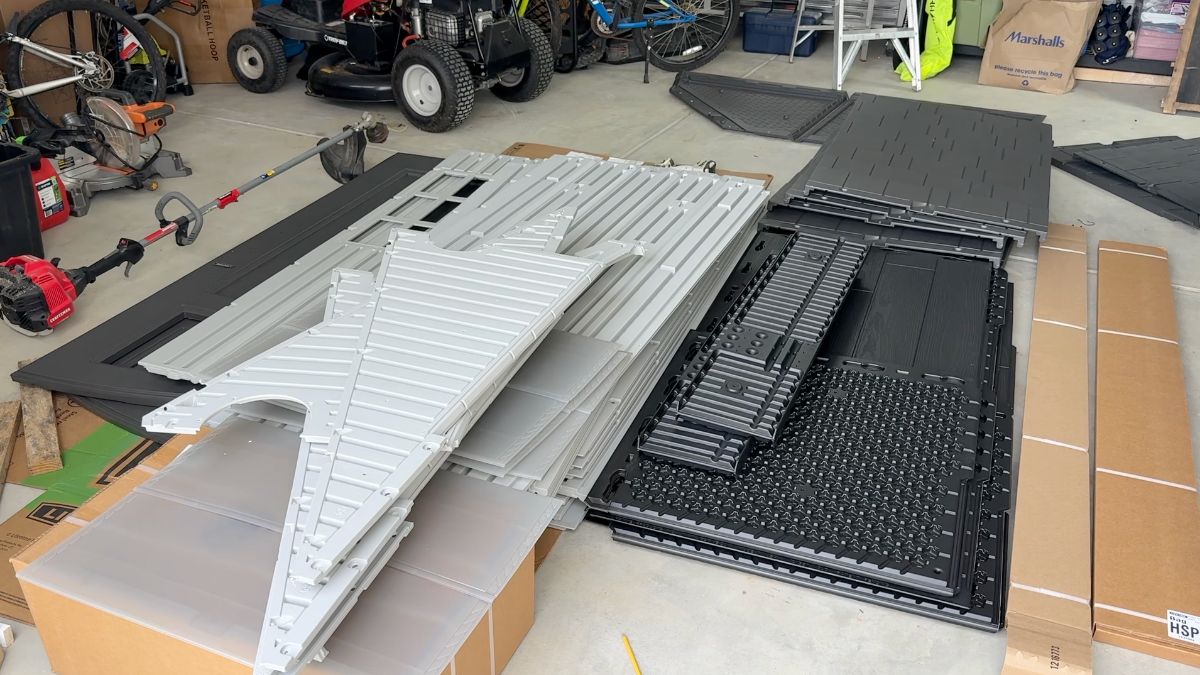
Okay, now the honest part — the build process. It was a lot, but not in a scary way. Think of it like a giant Lego set, only the instructions are about 50 pages and you’ll definitely want a second pair of hands (or a tall teen with nothing better to do).
We took our time over a weekend, doing a bit each day so we didn’t lose our minds. The instructions were actually pretty clear, and all the parts were labeled well, which I appreciated. Pro tip: organize everything before you start. Trust me on that.

There were definitely a few “Wait, what is this piece supposed to do?” moments, but overall it went smoothly.

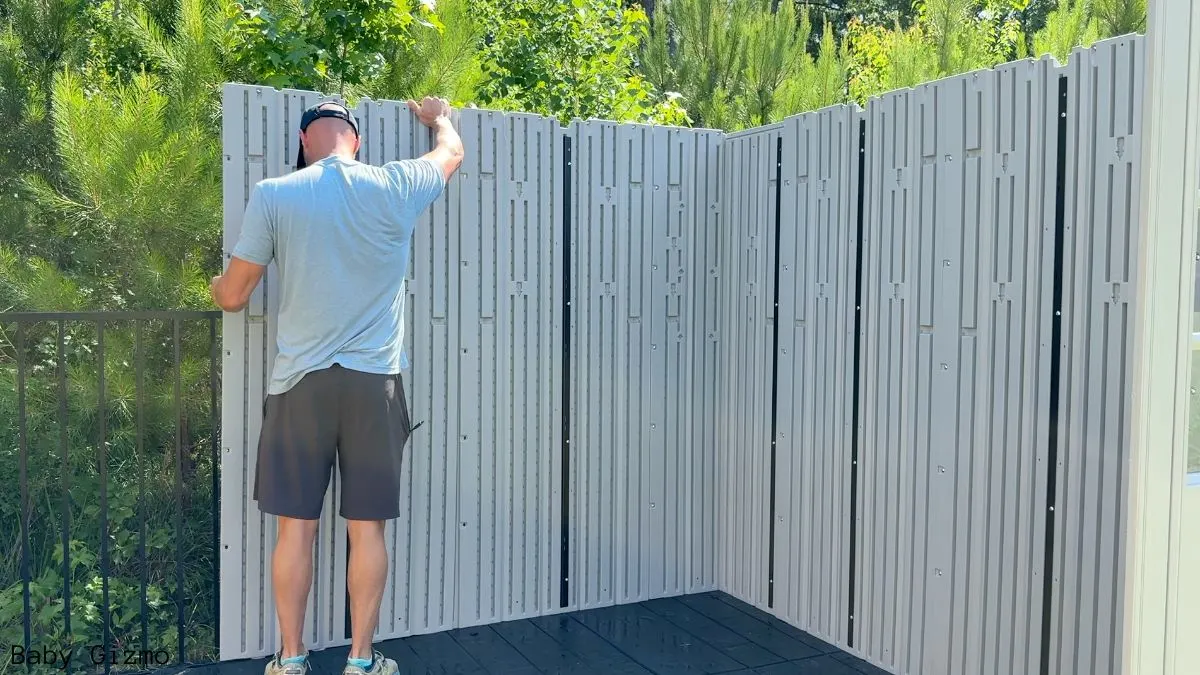
The Final Result
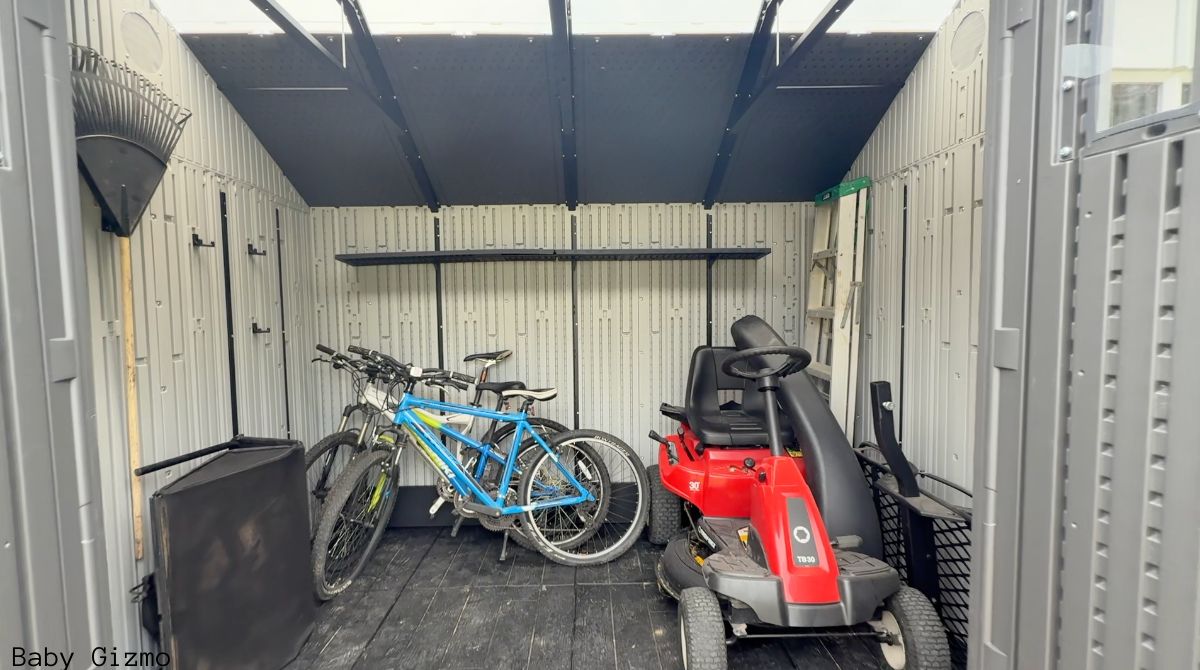
Once it was all done… wow. The shed looks great in our backyard. It feels solid, opens up beautifully with wide double doors, and best of all — we were finally able to clear out the garage and give our cars some breathing room.
We have the riding lawn mower in there now, all the bikes and scooters, our ladders, power washer, and every weird-shaped outdoor tool you can think of. And we still have space to spare! I may or may not have added a couple of labeled storage bins and hooks because #organizedmomlife.

Would I Recommend It?
100%. If you’re looking for a shed that holds up to weather, looks clean and modern, and doesn’t require a team of contractors to assemble — the Lifetime 10×8 Outdoor Storage Shed is it. Just set aside some time, maybe a playlist and a few snacks, and you’ll be golden.
Honestly, I wish we’d added it sooner. I now pull into our garage without weaving around a scooter or bumping into a leaf blower. And for that alone, I’m calling this a major win.
Want to see our build process or what the Lifetime 10×8 Outdoor Storage Shed looks like fully stocked? Check out the video we made:
Let me know if you have questions — happy to share more tips from the build!