
A refreshing and invigorating shower is a crucial part of our daily routine, but when the water temperature doesn’t quite hit the sweet spot, it can be a frustrating experience. My parents just had their extra bathroom remodeled, and while it looks beautiful, we noticed that the shower water temperature was no longer very hot, at least as hot as we’d like it to be. If you find yourself like us shivering in lukewarm water or yearning for a hotter shower, fear not – adjusting the water temperature on your shower valve is a straightforward process. Mr. Gizmo will walk you through the steps to ensure you master the art of tweaking your shower valve to achieve that perfect, comforting warmth.
TUTORIAL VIDEO
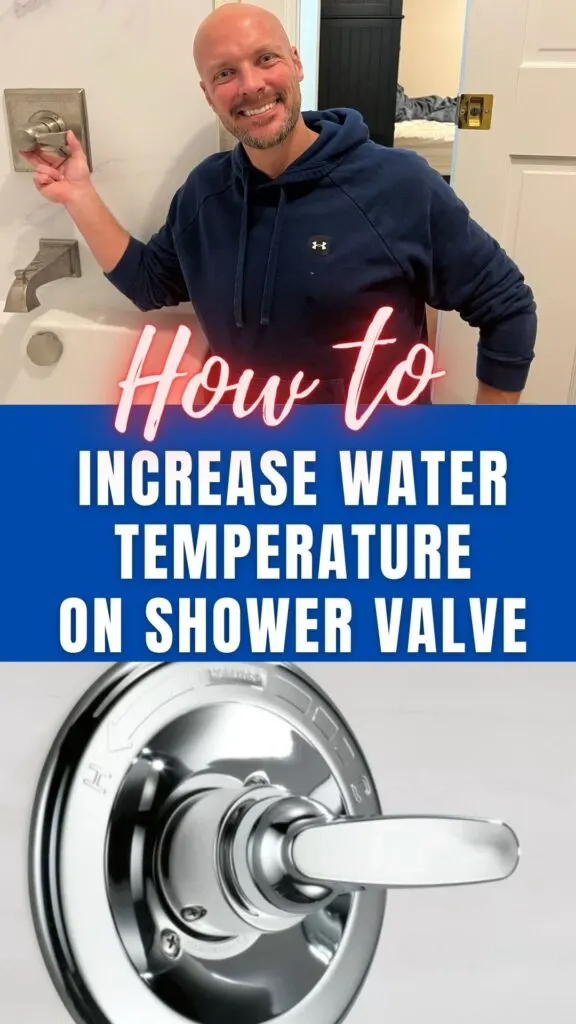
STEP BY STEP INSTRUCTIONS:
- Identify Your Shower Valve Type: Before diving into adjustments, it’s crucial to identify the type of shower valve you have. Common varieties include single-handle valves, dual-handle valves, or thermostatic valves. Each has a unique method for adjusting temperature, so understanding your specific valve type is the first step towards success.
- Locate the Temperature Limit Stop: Most shower valves are equipped with a temperature limit stop to prevent scalding. This safety feature is adjustable, allowing you to customize the maximum temperature to suit your preferences. Locate this stop, which is typically found on the valve itself or behind the handle, and familiarize yourself with its settings.
- Adjusting a Single-Handle Valve: For single-handle valves, the process is relatively simple. Remove the handle to expose the temperature control cartridge. Adjust the temperature by rotating the cartridge left or right, then reattach the handle. It’s a trial-and-error process, so be sure to test the water temperature until you find your desired warmth.
- Adjusting a Dual-Handle Valve: Dual-handle valves have separate controls for hot and cold water. To increase the temperature, turn the hot water handle clockwise. Depending on your setup, you might need to remove a cover or cap to access the temperature adjustment screw. Make gradual adjustments, testing the water each time until the temperature suits your preference.
- Adjusting a Thermostatic Valve: Thermostatic valves are designed to maintain a constant temperature, providing a more precise control over the water. Locate the temperature adjustment handle or screw, usually found on the valve body. Make small adjustments, testing the water to ensure it reaches your desired temperature without fluctuation.
- Test and Fine-Tune: After making adjustments, always test the water temperature before stepping into the shower. Fine-tune the settings until you achieve the ideal warmth. Keep in mind that temperature preferences can vary, so take the time to find what feels most comfortable for you.
Adjusting your shower valve’s water temperature is a small but impactful way to enhance your daily routine. By understanding your valve type and following these step-by-step instructions, you can bid farewell to chilly showers or prevent your water temperature from become too hot that kids could be burned. Don’t settle for a lukewarm shower and try this easy fix.
MORE TUTORIALS WITH MR. GIZMO
How to Remove Odors from Your Couch
How to Clean Your Washing Machine Filter
How to Clean a Toilet in 2 Minutes
For more tips and tricks from Mr. Gizmo, check out his Mr. Gizmo YouTube channel.

Sue
Sunday 19th of January 2025
Thanks! I didn't know there was such a thing until I was the first one to stay in a newly renovated Marriott room. The water was lukewarm, which I knew couldn't be the right. When I got back in the evening, maintenance had adjusted the handle to max at the 10:00 position rather than 12:00 and my water was wonderfully hot. I'm now going to adjust both showers in my new home thanks to your video.