Dying eggs is one of the few craft activities you can do with really young children. As long as they can put an egg in a bowl, they can help out.
Those first two sentences were taken from my brain before I had ever dyed eggs with a young child. In reality, if they can put an egg in a bowl they can also put it in their own mouth and that is where the problems lie. The little kits they sell at every grocery store with the fizzy dye pills and shrink wraps are great for older kids. Older kids do not try to drink the dye water. Or pour it on the dog. Or pour it over their own head. But the under three sect surely do all of those things.
Once I realized the flaws in my original logic, I decided that I was not comfortable using those fizzy pills to dye eggs with my small children. Their ingredient list is questionable and I felt like I needed to use something a bit more natural just in case the dye ended up somewhere it shouldn’t.
I turned to nature (and my garbage) to find the answers. You can create great egg dye from food and food scraps! This method does require a bit more prep work than the box version, but I think it is totally worth it to not have to call poison control mid activity.
Ingredients
Hard boiled eggs – as many as you want to dye
Approximately 1 tbs of white vinegar per cup of dye liquid
Red Cabbage Leaves (light blue/purple)
Red onion Skins (deep green)
Yellow onion skins (mustard yellow)
Beets (pink to purple)
Tumeric (light yellow)
Directions
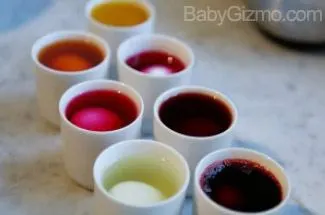
CABBAGE: Chop ¼ of an average size head of cabbage and place in a bowl. Cover with about 3-4 cups of boiling water and let steep for at least 15 minutes. I like to let the cabbage steep until the water is cool because I like a richer color. Strain and add about 3-4 tbs of white vinegar to the dye. The eggs will need to sit in this dye the longest to get a nice color.
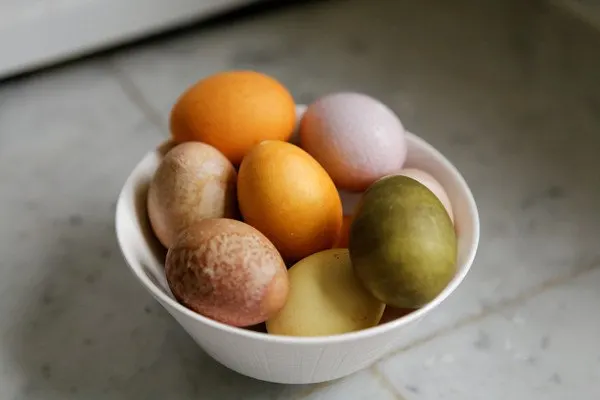
RED ONION: Place the skin of 3-5 red onions in a pot with 2 cups of water. Simmer for 10 – 15 minutes and then let steep until the water is cool. Strain and add 1-2 tbs of vinegar to the dye. The eggs you place in this dye will turn green. No matter what magical scientist you send to my house to explain this, I will never understand how red onion skins make green dye, but it is awesome.
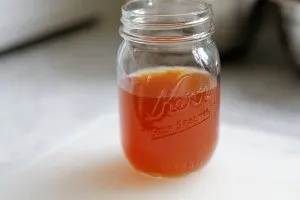
YELLOW ONION: Place the skin of 3-5 yellow onions in a pot with 2 cups of water. Simmer for 10 – 15 minutes and then let steep until the water is cool. Strain and add 1-2 tbs of vinegar to the dye.
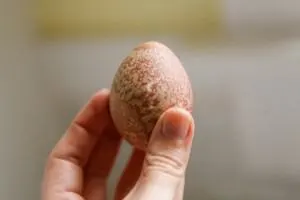
BEETS: Chop 1 medium beet and place in bowl. Cover with 3-4 cups of boiling water. Let steep for at least 15 minutes. As I keep mentioning, I just let it steep until the water is cool. Strain and add 3-4 tbs of vinegar to dye. The beet color egg is my favorite because of the amazing speckled finish you end up with.
TUMERIC: Place 2 TBS of turmeric in bowl. Add 2 cups of boiling water and stir. Let cool and add 2 tbs of white vinegar. You might need to give this a little extra stir right before you use it.
Notes
– The easiest way to do this is to make the dye the night before you plan to use it. This allows everything to be cool and ready for kids the next day. I usually wait to add the vinegar until just before you start adding the eggs.
– For all of these dyes, you will need to let them soak longer than the store bought dyes. Check them after 30 minutes to see if you are happy with the saturation. The cabbage takes the longest. The onion skins work the fastest.
– When you are done dyeing the eggs, use the dye water as watercolor paint! We tried that for the first time this year and it worked really well.


Gretchen Bossio
Tuesday 19th of March 2013
Love this!
Abbie
Tuesday 19th of March 2013
What a great idea, never thought to try this!