It’s time for DIY Name Plates for Thanksgiving. It’s been super chilly in the Pacific Northwest this week. My daughter keeps asking if it’s winter yet, but then quickly corrects herself by saying, “Nope! I see leaves falling from the trees – it’s fall still!”
We bundled up for a brisk walk and decided to gather leaves since it was dry. I explained the process of pressing leaves and told her that we could plan a craft project to display our medley of yellow, orange, brown and red leaves. Our conversation home morphed into the upcoming holiday – Thanksgiving! We decided to press our leaves, create name plates and put it all together for our Thanksgiving table.
Here’s what you’ll need to create your own!
Name Plates Supplies Needed
- Paper towels
- Cookie sheet
- Heavy pot or cast iron
- Leaves
- Cloth napkins
- Fancy ribbon or yarn
- Scissors and paper cutter
- Kraft paper
- Printer
Directions
Once your leaves are inside, if you don’t press them quickly, they’ll begin to curl. So, we laid our leaves on a cookie sheet, covered them with a paper towel and placed heavy cast iron on top. They remained flattened and pressing overnight.
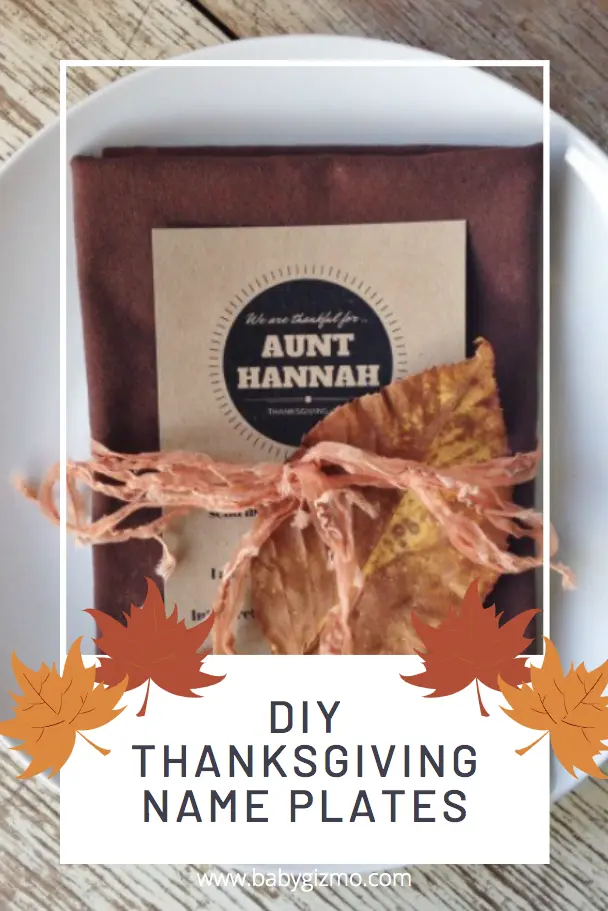
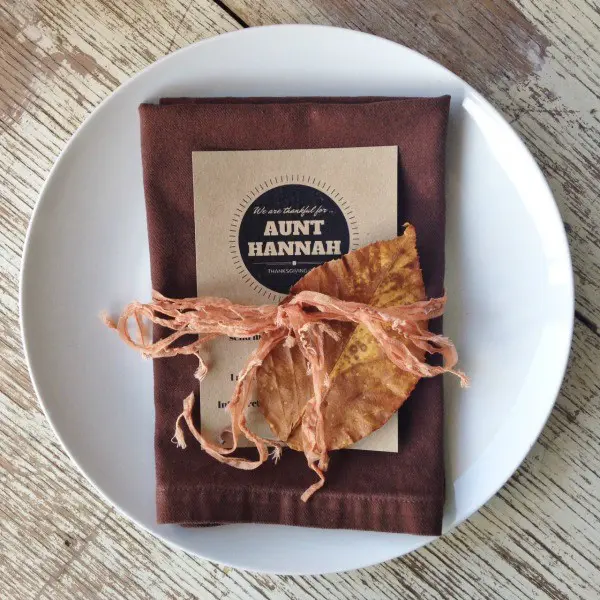
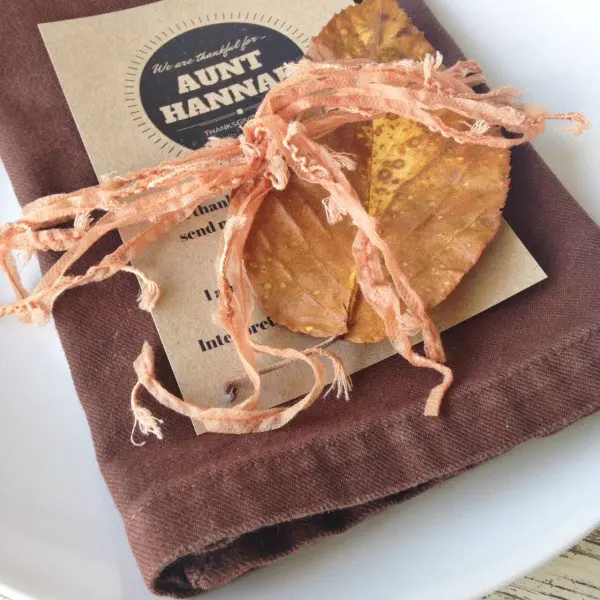
The next morning we decided to super personalize our name plates, not just our family’s name at the top, but also, what we’re thankful for about them. My 4 year old came up with creative sweet sentiments for each family member, things like, “I’m thankful for Aunt Hannah because she sends me surprises in the mail!” and “I’m thankful for Daddy because he takes me to baseball games where there are fireworks!” I used Canva.com for the design and printed them on kraft paper for a rustic, autumn feel.
I ironed and folded cloth napkins (not my normal by any means, but special for a holiday!), tied a double layer of fancy yarn around it and tucked in our thankful name plate and a pretty, pressed leaf. Done!


