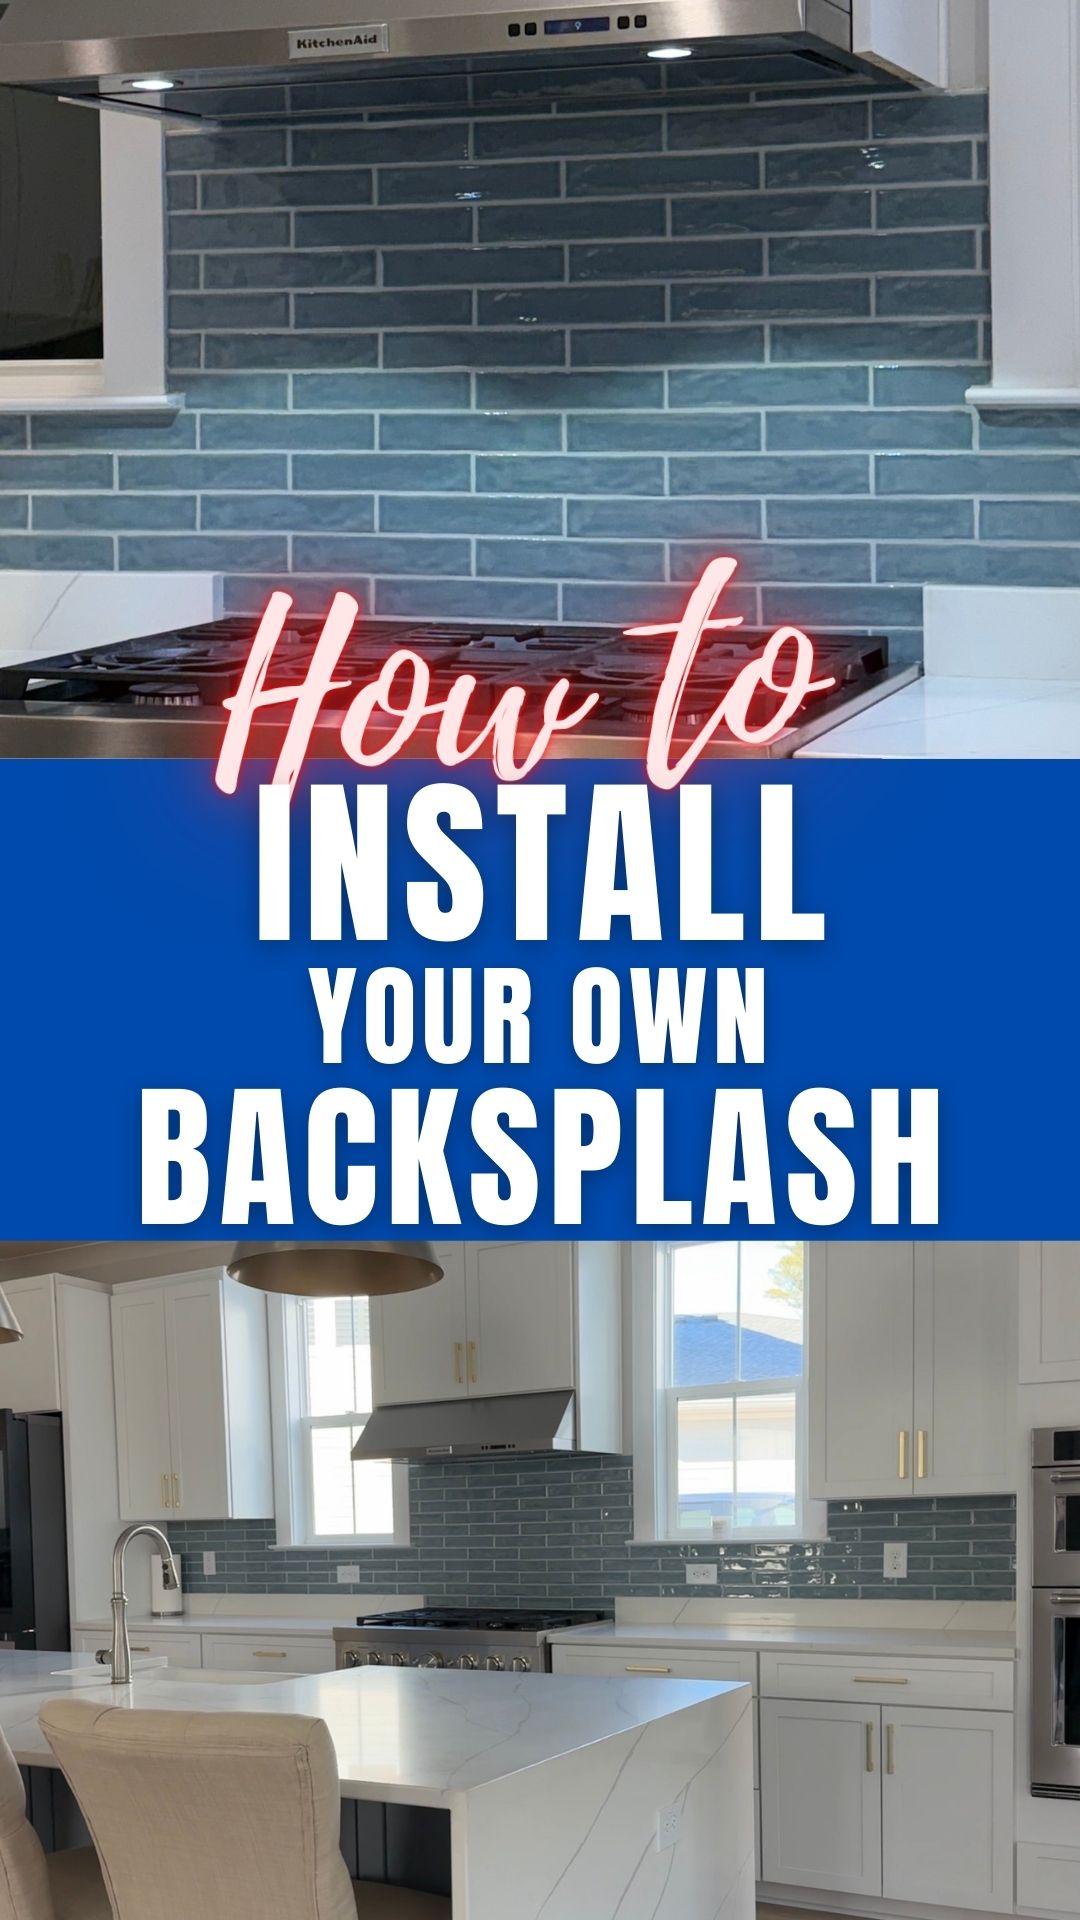
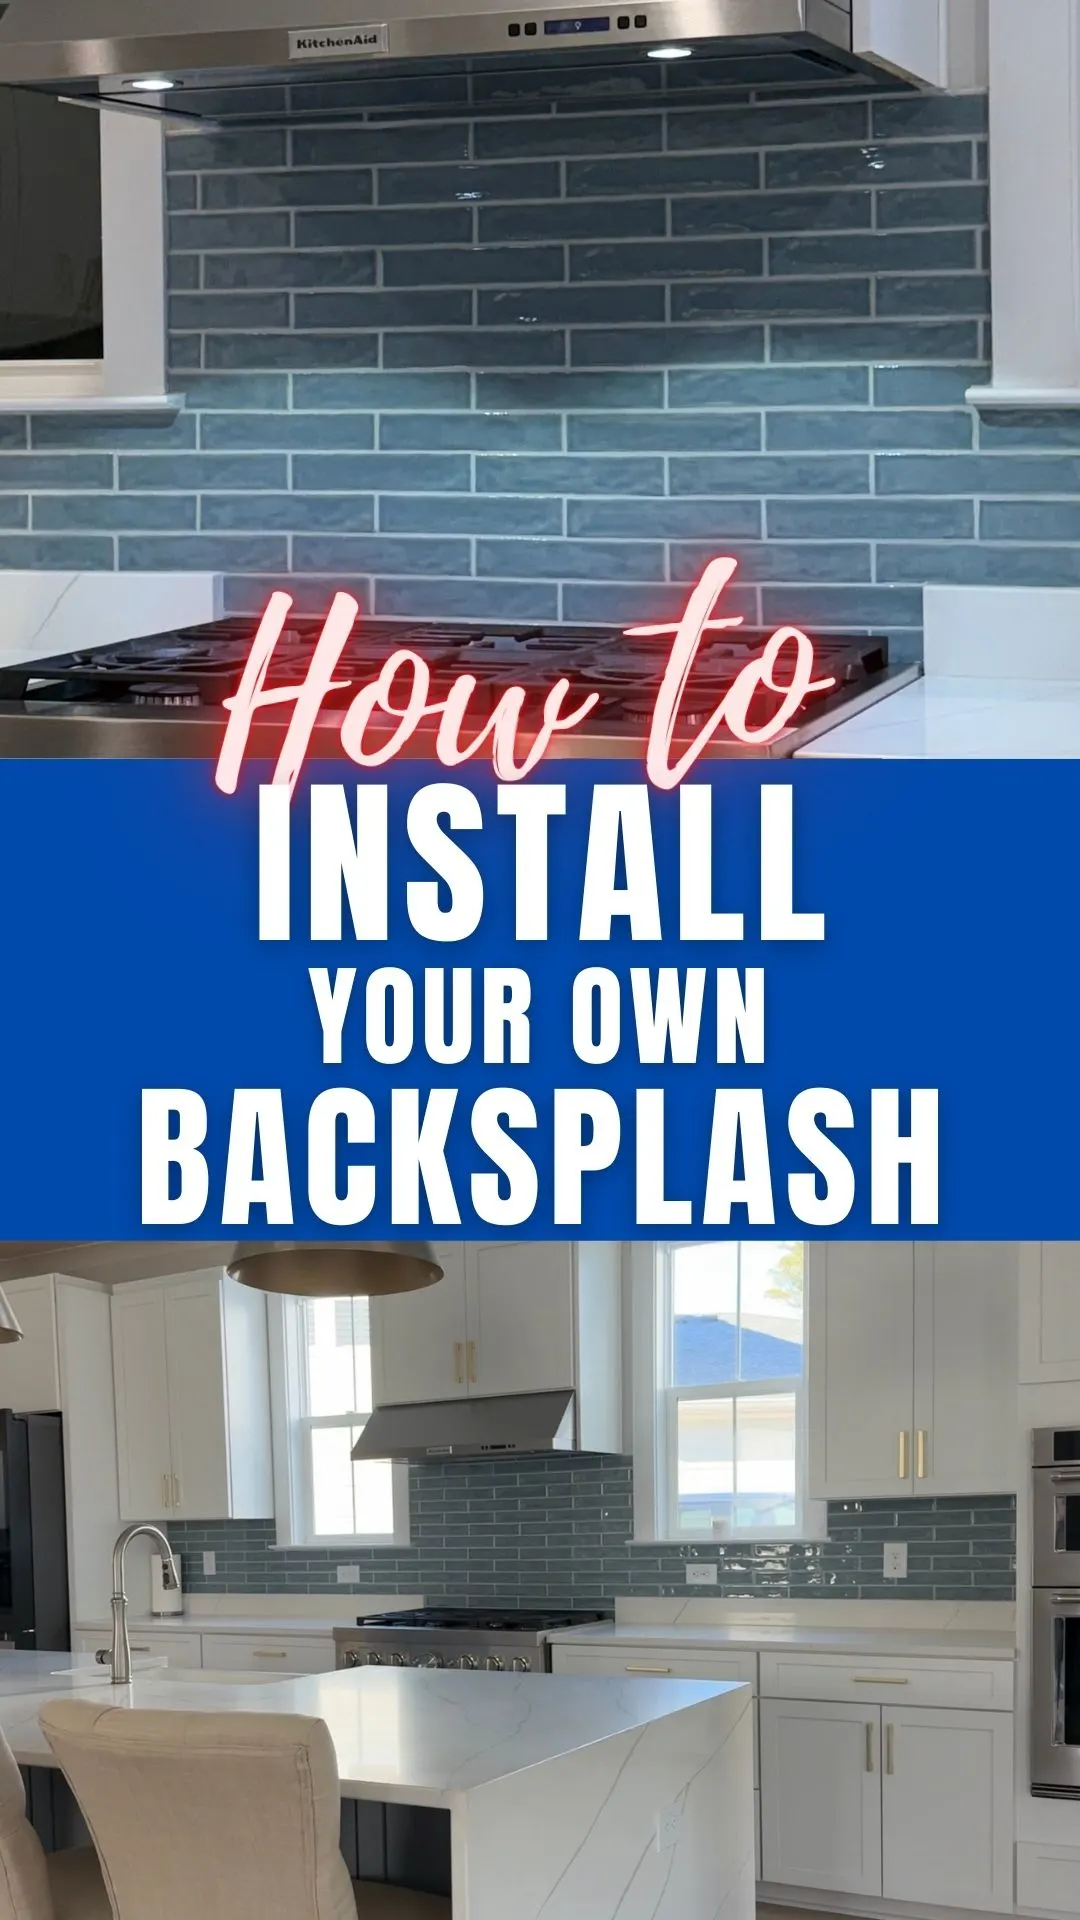
Let’s be real—kitchen renovations can get crazy expensive. But guess what? One of the easiest (and most budget-friendly) ways to give your kitchen a whole new look is by installing your own backsplash! Yep, you don’t need to be a pro to do it, and you can save hundreds—maybe even thousands—by tackling this simple DIY project yourself. Whether you’re going for classic subway tile, a modern peel-and-stick option, or something totally unique, I’ve got all the tips and tricks to help you pull it off like a seasoned DIYer (without the seasoned DIY budget). Let’s get started!

More HOME DIY Projects:
- Dream Pantry DIY Project
- How to Clean Your Pillows
- How to Clean Your Dryer Vent
- How to Clean Your Toilet in 2 Minutes
- How to Clean Inside Glass on Oven Door
If you’re more of a visual learner (because, let’s be honest, sometimes written instructions just don’t cut it), we’ve got you covered! Our favorite DIY expert, Mr. Gizmo, has put together a fantastic step-by-step video tutorial that walks you through the entire backsplash installation process—from prepping your wall to grouting like a pro. He breaks it down in a way that’s easy to follow, even if you’ve never picked up a tile cutter before. So grab your materials, hit play, and let’s transform that kitchen together!
Why a Kitchen Backsplash is a Must-Have for Style and Function
A kitchen backsplash isn’t just about looks—it’s a game-changer for keeping your space clean and protected. Homeowners install backsplashes to shield their walls from splashes, grease, and everyday messes, making cleanup a breeze. Plus, with so many stylish options available, a backsplash adds personality and charm to your kitchen without breaking the bank. Whether you go for classic subway tile, bold patterns, or easy-to-install peel-and-stick designs, a backsplash is one of the simplest ways to upgrade your kitchen’s style while keeping it functional.
Step-by-Step Guide to Installing a Subway Tile Backsplash
Installing a subway tile backsplash is easier than you think! Follow these simple steps to get a professional-looking finish:
- Prep the Wall: Clean the surface and make sure it’s smooth and dry before you start. If needed, apply a primer.
- Measure and Plan: Mark the center of your workspace and do a dry layout to plan your tile placement.
- Apply Adhesive: Use a notched trowel to spread tile adhesive (thin-set mortar) evenly on the wall in small sections.
- Place the Tiles: Press each tile into the adhesive, using tile spacers to ensure even gaps. Work in rows and check for level as you go.
- Cut Tiles as Needed: Use a tile cutter or wet saw to trim tiles for edges, corners, and outlets.
- Let It Set: Allow the tiles to dry for at least 24 hours before applying grout.
- Grout the Tiles: Spread grout over the tiles using a rubber float, pressing it into the spaces. Wipe away excess with a damp sponge.
- Seal and Finish: Once the grout is dry, apply a grout sealer to protect it. Remove any haze from the tiles with a clean cloth.
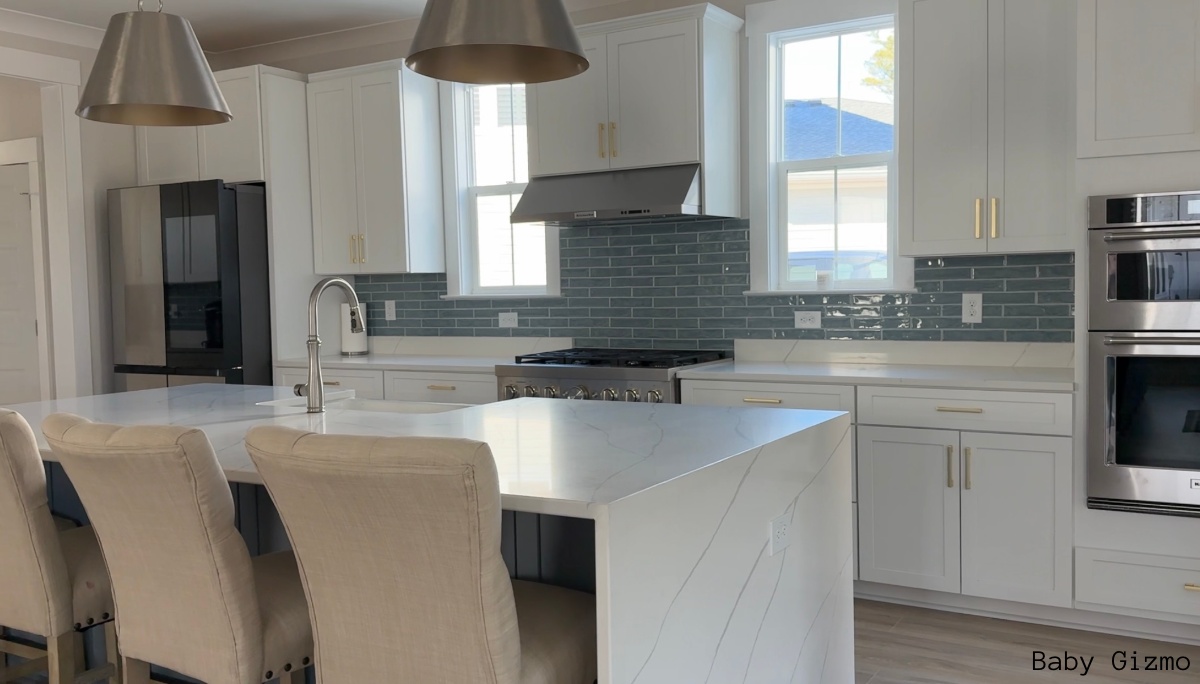
And that’s it! With a little patience, you’ll have a stunning new backsplash that looks like a pro did it.
Tools We Used in the DIY Project:
- Wet Saw
- Notched Trowel
- Thin Set Mortar
- Tile Used in Video – Ivy Hill Tile
- Tile Spacers
- Rubber Float
- Tile Grout
- Tile Sponge
And there you have it—your kitchen has a fresh, new look without the hefty price tag! Hopefully, this project showed you just how easy and budget-friendly a DIY backsplash can be. We hope Mr. Gizmo’s video helped guide you through the process and gave you the confidence to tackle it like a pro. Now, stand back, admire your handiwork, and maybe even show it off to a few friends (because let’s be honest, you earned those bragging rights). Happy DIY-ing!