It’s the month of love! Are you ready to celebrate Valentine’s Day with a little watercolor fun?
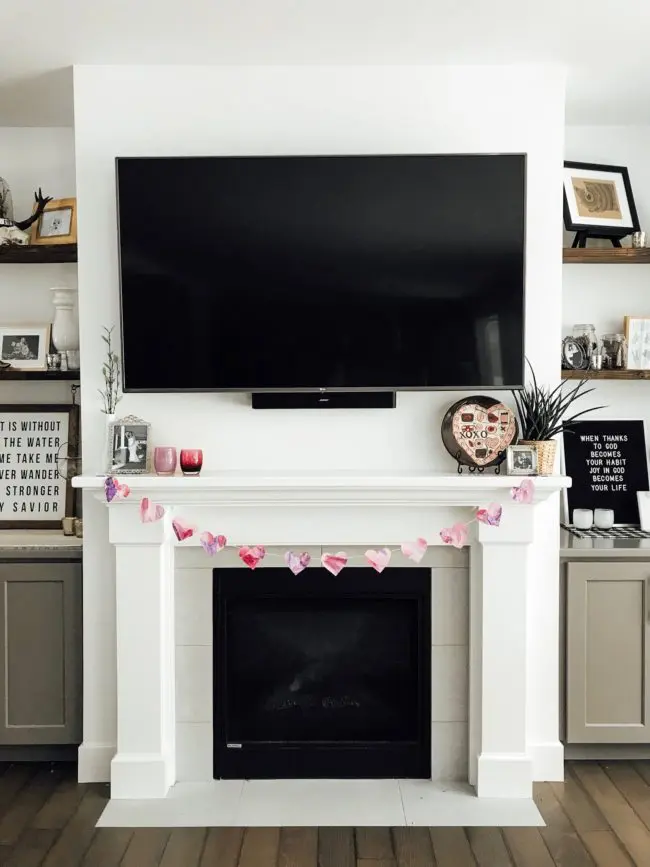
I surprised my big kids with a morning of arts and crafts and they were all about this wild and crazy watercolor project in honor of the coming holiday. With splashes of pink and red and purple – these hearts are just darling! I love how our banner turned out so very much! Definitely a piece of home decor that I’ll display year after year.

Supplies
- 2 pieces of 8.5×11 watercolor paper
- Heart template
- Watercolor paints
- Paintbrushes
- Bowl of water
- Paper towel
- Scissors
- Yarn or string, any coordinating color
- Washi tape, or another kind, any will do
Directions
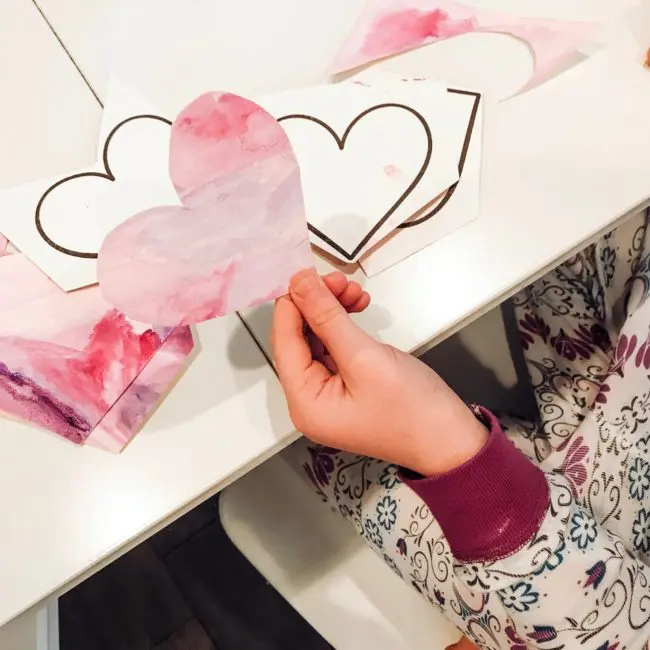
First, print this heart template onto watercolor paper. I haven’t found watercolor paper in 8.5×11 size so I trimmed 9×12 so it would feed through my printer.
Explain to your kids that they will be painting on the back of the hearts. It sounds wrong, but I promise, it makes the whole project easier! Once each watercolor page dries you’ll use the hearts as a cutting guide.
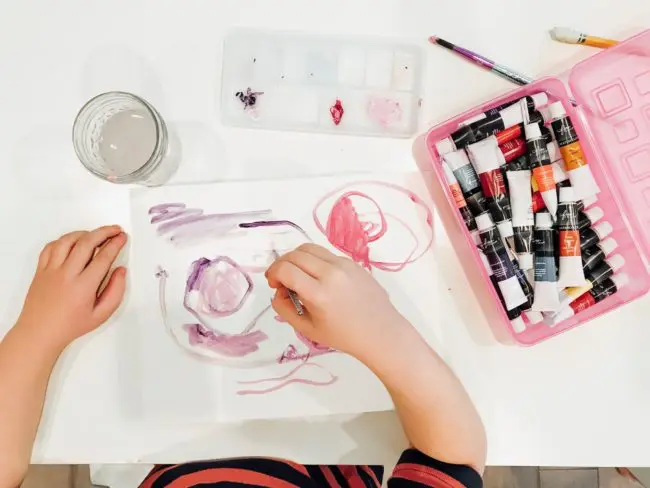
Now, set up your watercolor station – paints, brushes, water, and a paper towel for wiping brushes when you need to change colors. Then, begin painting! We opted for mixes of reds, pinks, and purples for Valentine’s Day, but you know what, your hearts can be any color you want!
A little hint … I always encourage my kids to add more water before adding more paint when watercoloring. Water helps the color spread and blend. Feel free to paint along with them so they can see exactly what you mean 🙂


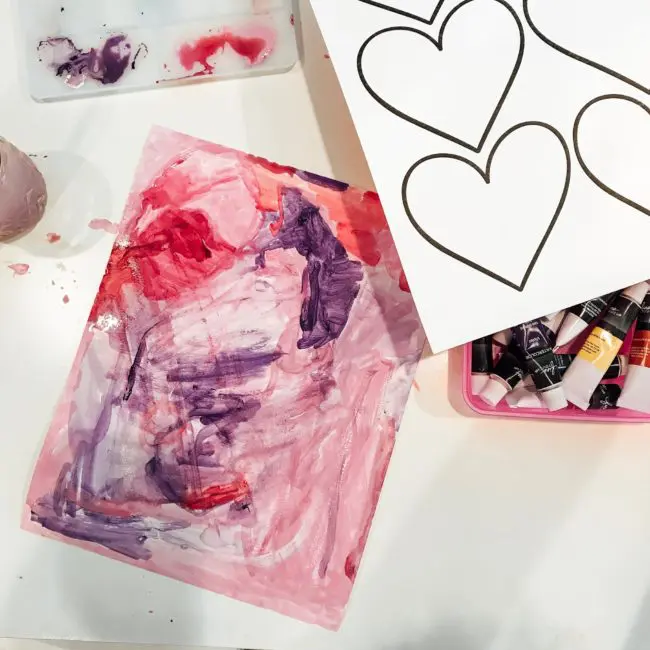
Allow the watercolor pages to dry thoroughly. We left ours on the counter overnight, but a few hours should do … as long as the pages didn’t get drenched.
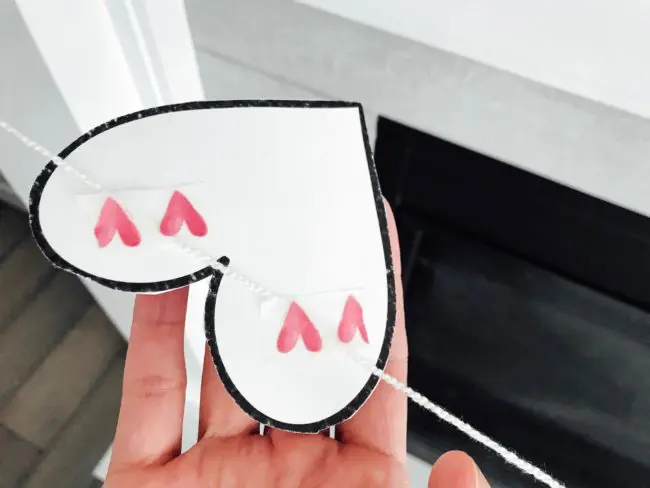
Roughly cut out each heart. Snip to separate each page into 6 separate pieces. Then, go back and follow the black lines for a more defined and accurate heart shape. A parent can do this step if the kids aren’t quite at cutting age, but, if they are, let them use the black heart lines as a guide. Assure them that it doesn’t have to be perfect 🙂 Just do your best!

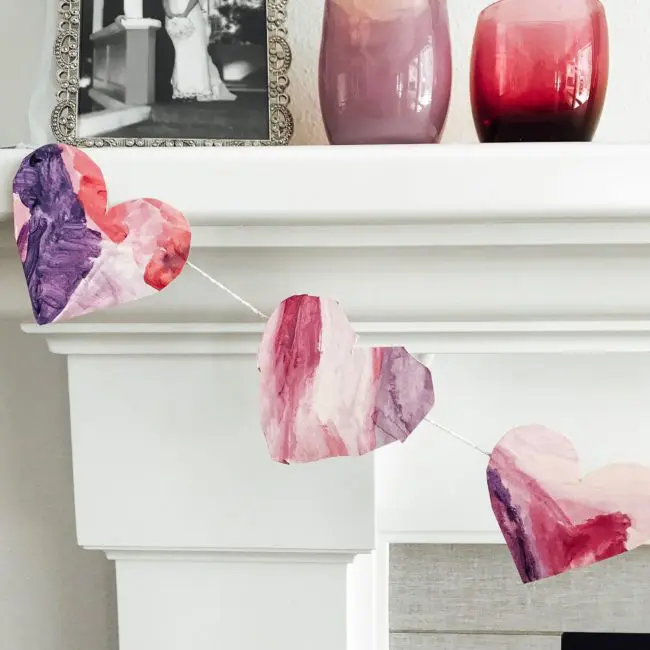
Lay out your string on a flat surface and with wash tape adhere each heart to the string. We left a three finger space between each heart.


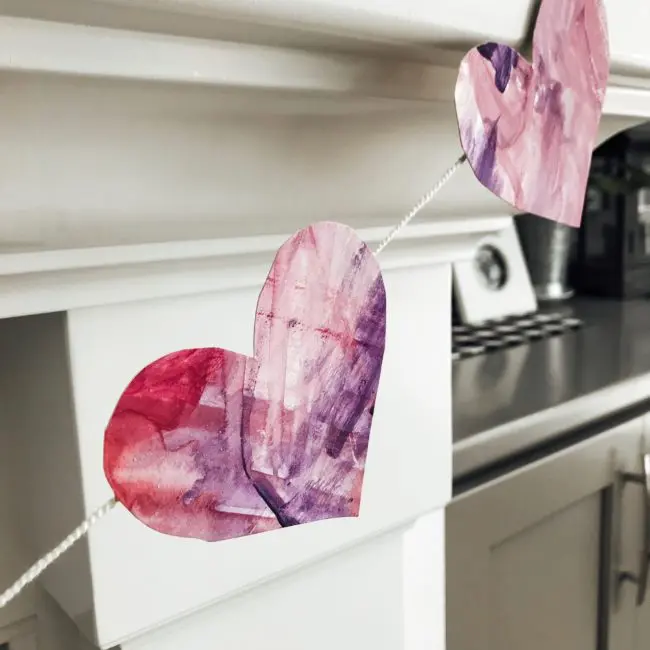

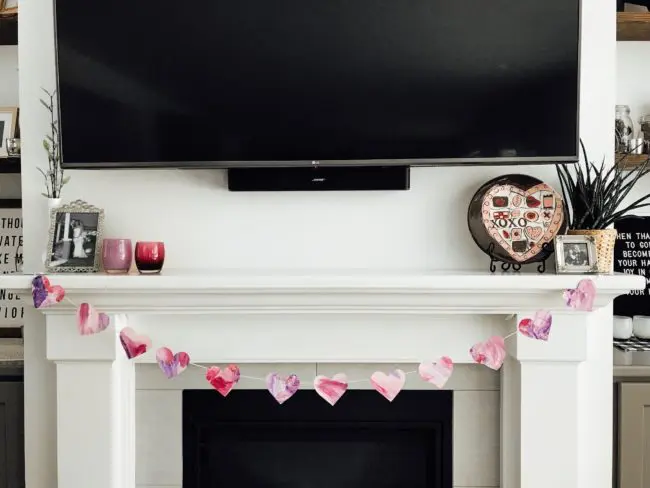
With the same washi tape secure your heart banner to your desired location and enjoy a little Valentine’s Day flair in your home! This year, we opted for our mantle, but I think we might make another string or two and put them up elsewhere. Maybe a window, on my boy’s bunk beds, or across our bookshelf! These are such happy hearts they deserve to be everywhere!