
This year I committed to making more art projects with my kids.
It’s something that often falls off my radar, because really, who has time for art with school assignments, chores, and extracurricular activities?
Well, I decided that enough was enough! Art was going to be a priority for our family! When we craft and create together we talk, we laugh, we have fun. We make memories and are left with gorgeous masterpieces to enjoy and share. Art is important.
This water spritz flower art project is the perfect family project because everyone can participate. Even toddlers! It’s fast and pretty and perfect for the nice summer days ahead.

Art Project Supplies
- Printed flower outlines (just Google search “black and white flower clip art”)
- Colored tissue paper, cut into imperfect squares
- Spritz bottle filled with water
Directions
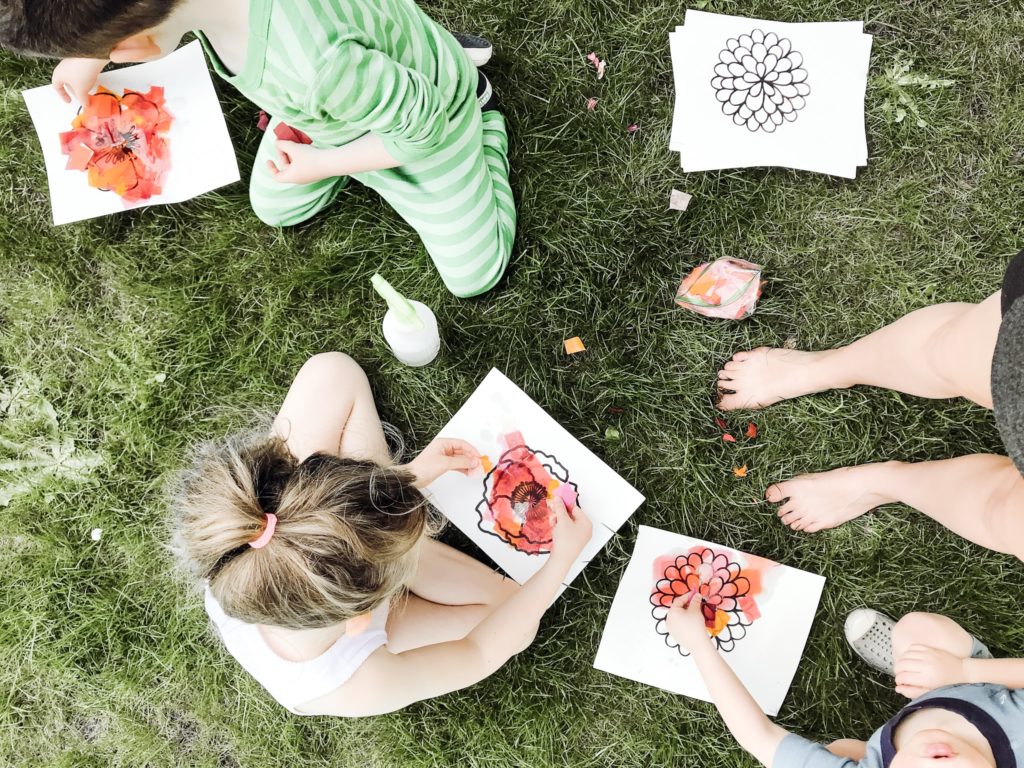
Gather your supplies and head outside! Or, if you prefer, you can stay in doors. In that case, use a large box to set your project to help keep the water and dye contained.
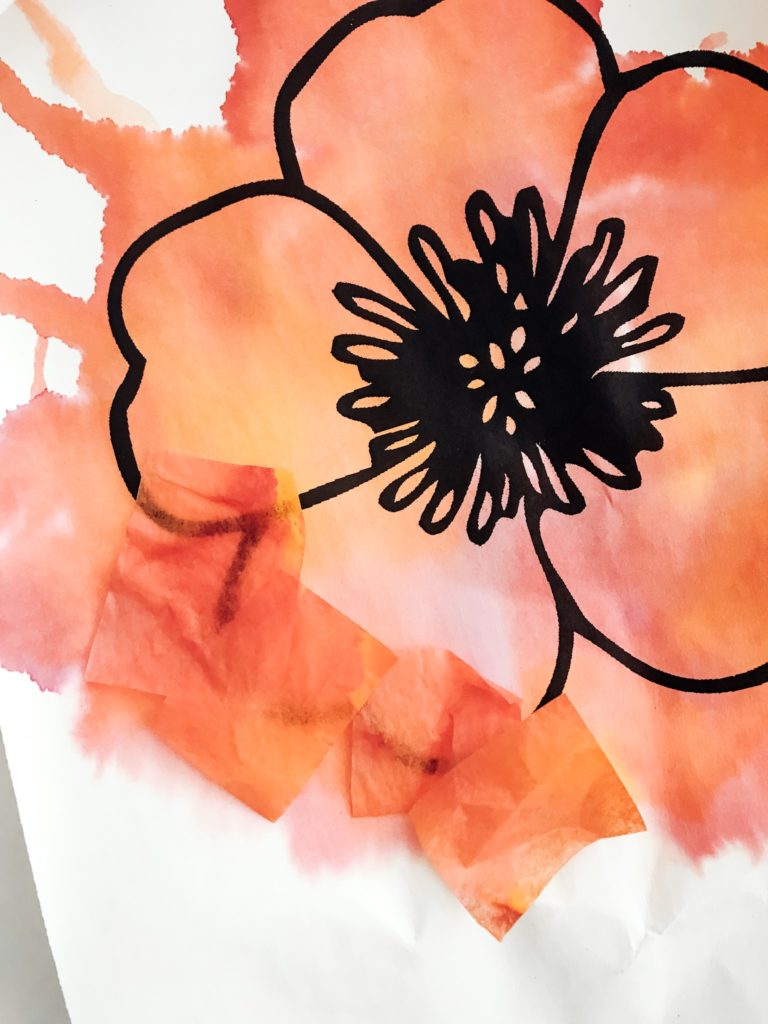
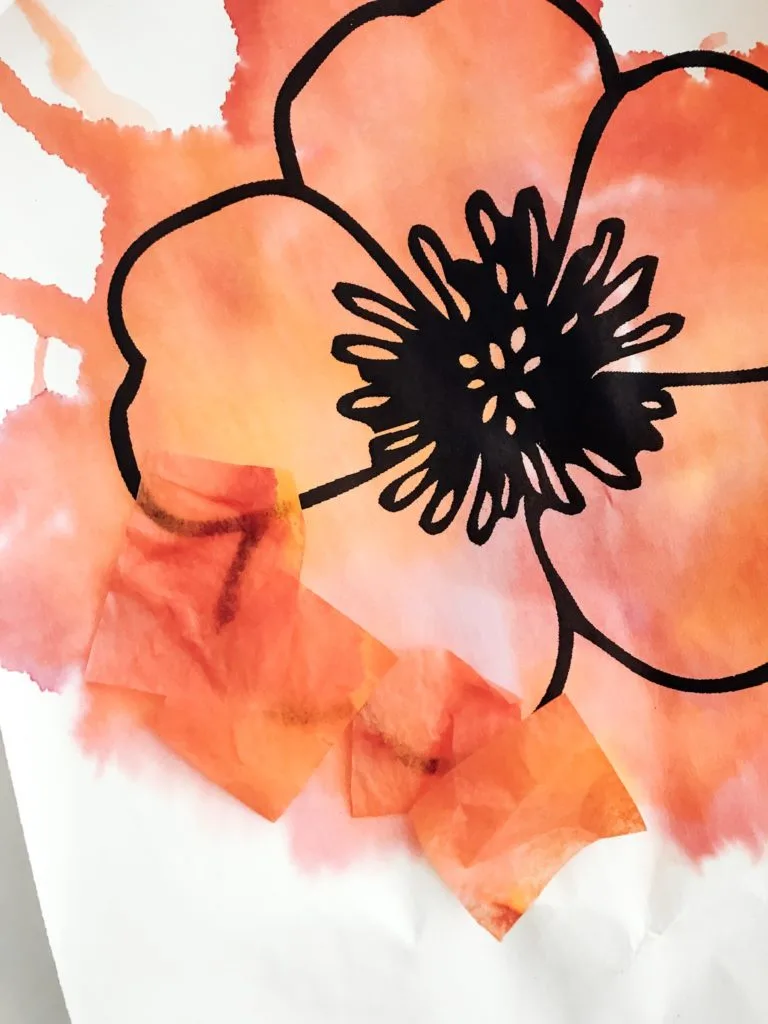
Give each child a flower outline and a small stack of colored tissue paper squares. Direct them to squirt their paper with water and then lay pieces of tissue paper on the wet area. Repeat, over and over and over until the entire flower is covered.

Don’t worry about being exact on the edges. The beauty of this project is in the bleeding of colors.
If there is any wind, anchor your project with a rock 🙂 It will need to air dry for a few hours before it’s time for the next step.
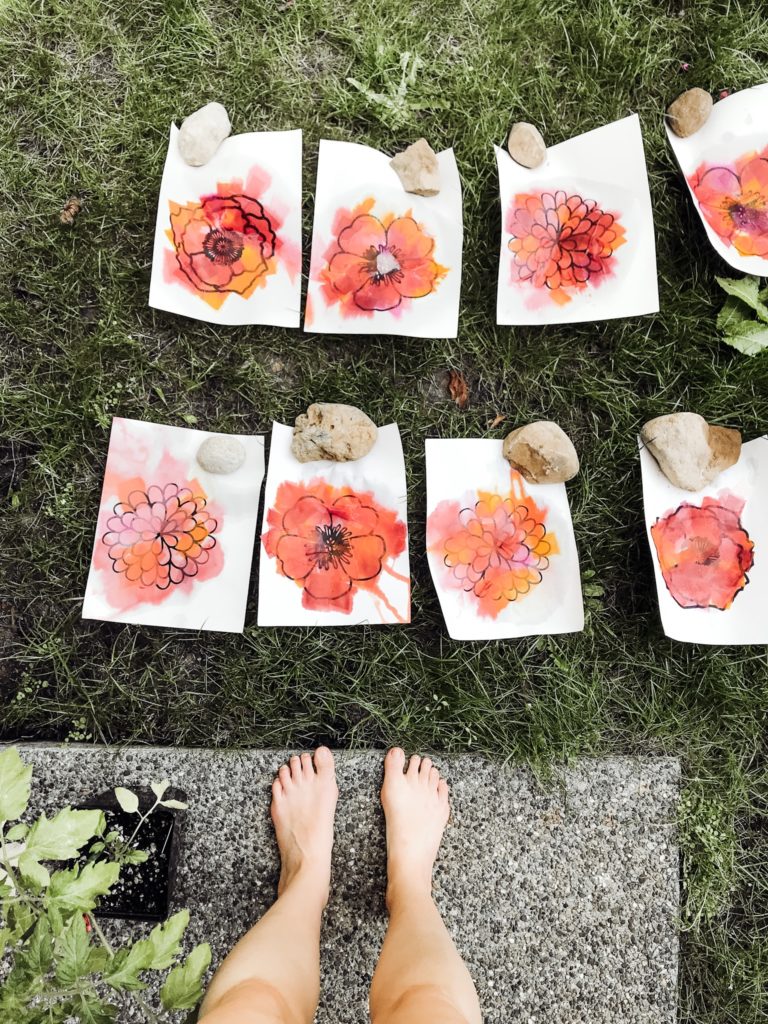
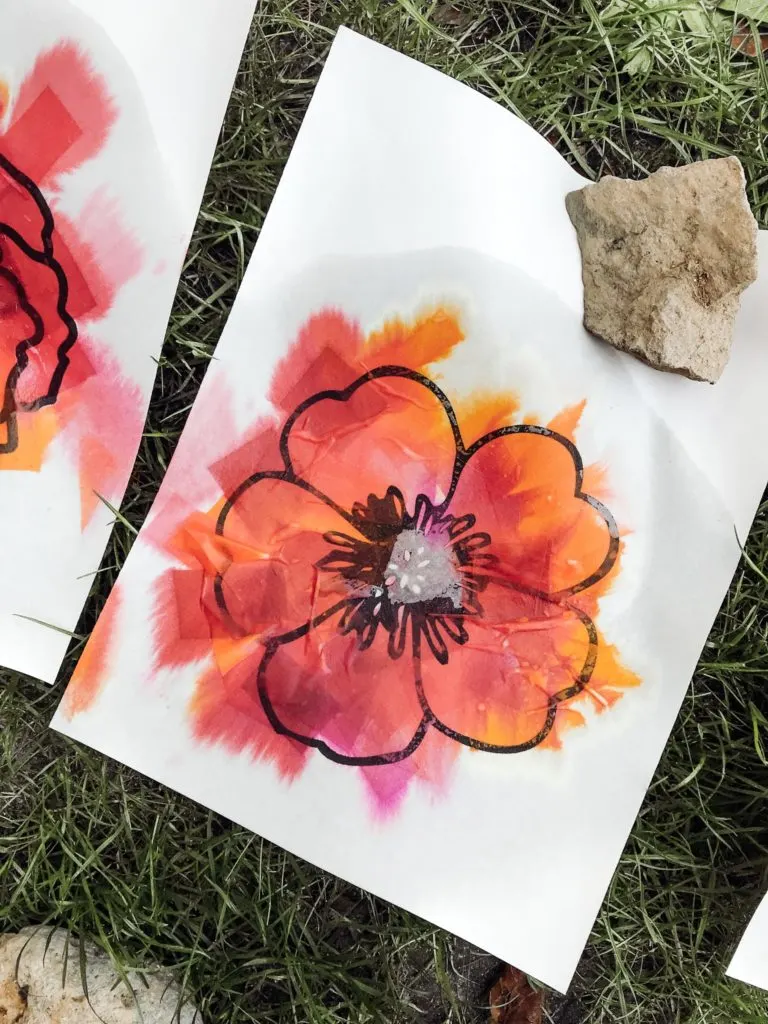
When your flowers dry, the tissue paper will naturally lift off, leaving behind a beautifully “painted” flower! Remove the tissue paper and discard.


You can call your project complete like this or you can use this as the beginning of another art project.
We have cut around our flowers and glued them to colored construction paper for a frame of sorts. We have trimmed them even closer and mounted them to blank cards to mail to our pen pals. We have even laminated them for placemats! If you print a smaller version in the beginning step you could laminate and use as a colorful bookmark too! So many options for creativity!