So I’m not the craftiest tool in the shed. And I really don’t have much time to spare (I mean, who does?). I keep seeing these cute DIY Silhouette Wall Art ideas, and I just can’t help myself.
My kids are at a super adorable stage right now, and their little profiles must be preserved. As the resourceful mom I am, I figured out how to make…

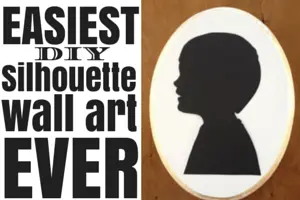
The Easiest DIY Silhouette Wall Art EVER.
Seriously. Ever.
First things first.
Supplies:
Profile pictures of your kids
Canvas or piece of wood
Scissors
Modpodge
Sponge brush
Pencil
Paint (color of your choosing)
What To Do to Make a DIY Silhouette:
1. Take a picture of your child’s profile. This can be hard since they are so squirmy. I turned on Sesame Street to entrance them and that did the trick.
2. Print out their profile picture in the desired size. For the wood pieces I was working with I chose 2 pictures per standard piece of paper.
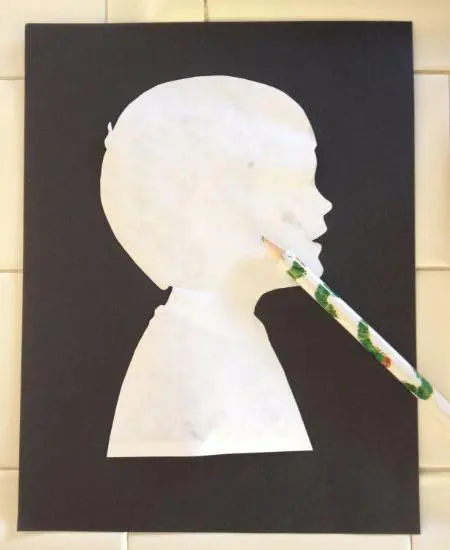
3. Cut out the photo. So super easy.
4. Trace the photo onto the colored cardstock of your choosing, and cut out the silhouette. I went with black.

5. Choose a background color. This is where you can decide the look you prefer. You can either paint the background, or you can modpodge the background with craftpaper or cardstock. Get creative!
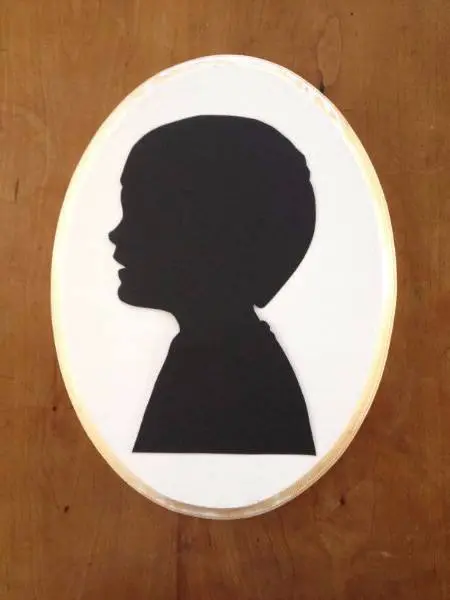
6. After the background has dried, place the silhouette in the center and modpodge in place.

Guess what? You are DONE!
So super easy, right?! Now you have a great DIY Silhouette!
