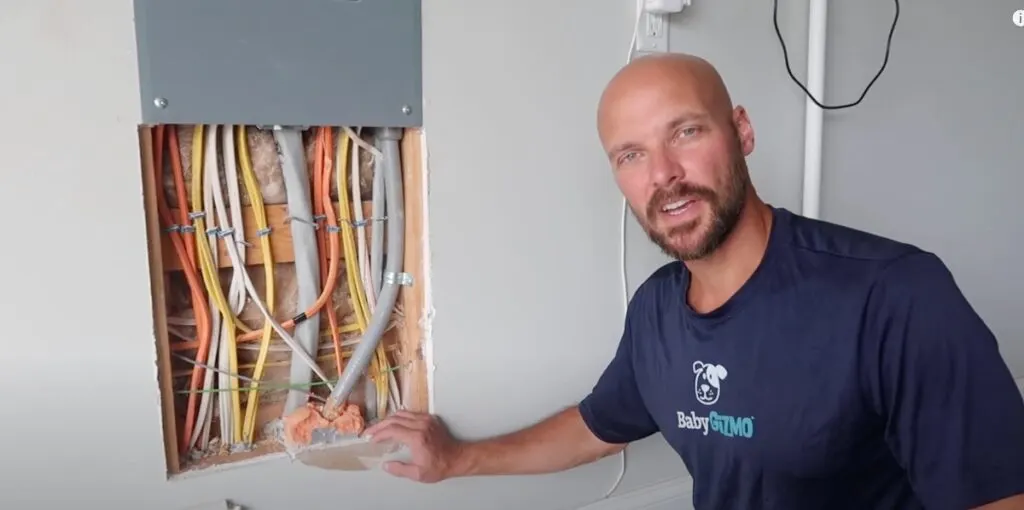
Mr. Gizmo is back with another easy, home DIY. This time he is showing us how to fix a hole in drywall. Whether the hole happened by accident (if you have older boys, that may happen!) or if it was done to fix something behind the wall, you may encounter a time when you need to patch up some drywall.
It might seem like a daunting task that needs professional attention to some, but we are here to tell you that it is really a DIY project. No need to call in a handyman, you got this!
Watch Mr. Gizmo’s video to see step-by-step how he fixed a large hole in our garage drywall.
DRYWALL FIX VIDEO
Drywall, also known as gypsum board or plasterboard, is a ubiquitous building material used in homes and commercial properties. Over time, it can become damaged due to various reasons like accidental impacts, moisture exposure, or settling of the building. Fortunately, repairing drywall is a manageable DIY project that can save you money and maintain the aesthetic integrity of your walls. In this comprehensive guide, we’ll walk you through the steps of repairing drywall, from assessing the damage to achieving a seamless finish.
Materials You’ll Need
Before diving into the repair process, gather the following materials:
- Drywall patch or joint compound
- Utility knife or drywall saw
- Putty knife
- Sandpaper (120 and 220 grit)
- Mesh or paper drywall tape
- Sanding block
- Primer and paint
- Safety gear (goggles, dust mask, and gloves)
- Spackling compound (for smaller holes)

Step 1: Assess the Damage
Before you begin, assess the extent of the damage. Is it a small hole, a crack, or a larger area that needs repair? Understanding the damage’s size and nature will determine the appropriate repair method.
Step 2: Prepare the Area
Clear the damaged area of any loose or damaged drywall. Use a utility knife or drywall saw to create clean edges around the damage. Clean the area to remove dust and debris.
Step 3: Patch Small Holes
For small holes or dents, fill them with spackling compound using a putty knife. Allow it to dry, and then sand it smooth. Repeat this step if necessary until the surface is level.
Step 4: Repair Cracks
For cracks, apply a thin layer of joint compound over the crack using a putty knife. Embed paper or mesh drywall tape into the wet compound, ensuring it covers the entire crack. Apply another layer of joint compound over the tape, feathering the edges to blend it into the wall. Allow it to dry, then sand it smooth.
Step 5: Patch Larger Holes
For larger holes, use a drywall patch. Place the patch over the hole and secure it with joint compound. Apply multiple thin layers of joint compound, allowing each layer to dry and sanding in between until the patch is smooth and flush with the wall.
Step 6: Sand and Smooth
Sand the repaired area using 120-grit sandpaper to smooth the surface. Then switch to 220-grit sandpaper for a finer finish. Feather the edges of the repaired area to blend it seamlessly into the surrounding wall.
Step 7: Prime and Paint
Once the repaired area is smooth and dry, apply a coat of primer to ensure the paint adheres evenly. After the primer dries, paint the wall to match the rest of the room. Feather the paint outward to blend it with the surrounding area.
Step 8: Clean Up
Clean your tools and dispose of any debris properly. Drywall dust can be harmful, so be sure to wear safety gear and clean the area thoroughly.
Repairing drywall doesn’t have to be a daunting task. With the right materials, patience, and attention to detail, you can restore your walls to their original glory. Whether it’s a small hole or a larger patch, taking the time to repair drywall properly will leave your walls looking flawless and your home in pristine condition.
Don’t forget to SUBSCRIBE to his new Mr. Gizmo YouTube Channel for more home DIYs and other tips and projects.
