


Rainbow Sprinkle Funfetti cake is so easy to make! You can make a vanilla cake from scratch and add sprinkles or whip up a box cake (we’ll never tell!) but either way, you’ll have the most fun cake for a birthday or celebration.


WHAT YOU NEED:
Two (2) Vanilla Cake Mixes (or homemade cake recipe like this one)
egg, water and oil for the cake mix
Food coloring (your choice what color the cake should be)
Vanilla Buttercream Frosting (recipe below)
DIRECTIONS:
CAKE Ingredients:
- Make the 2 (two) vanilla or white cake mixes according to the box instructions. If you’d like to do a homemade cake, this recipe from Sally’s Baking Addiction is amazing.
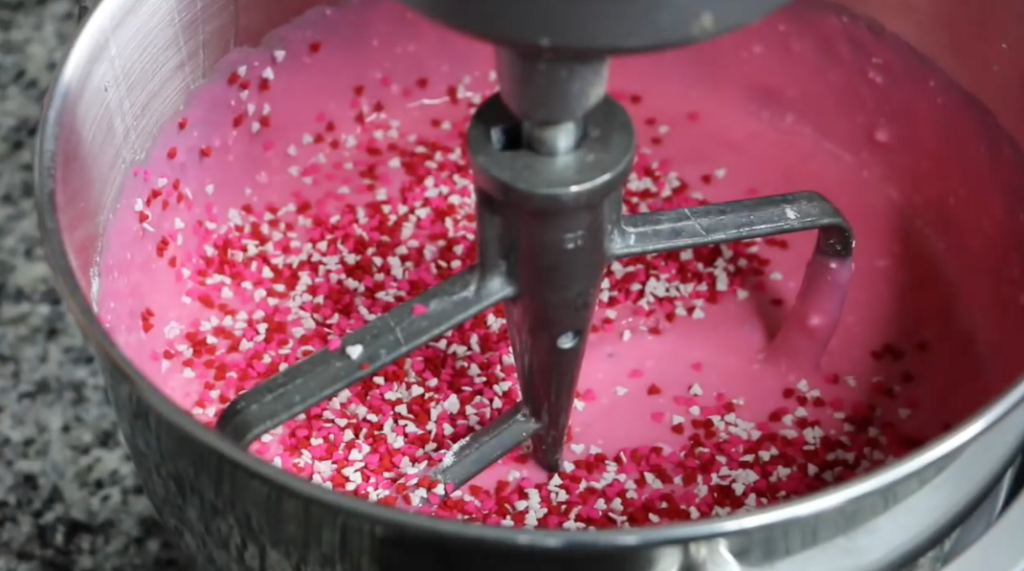
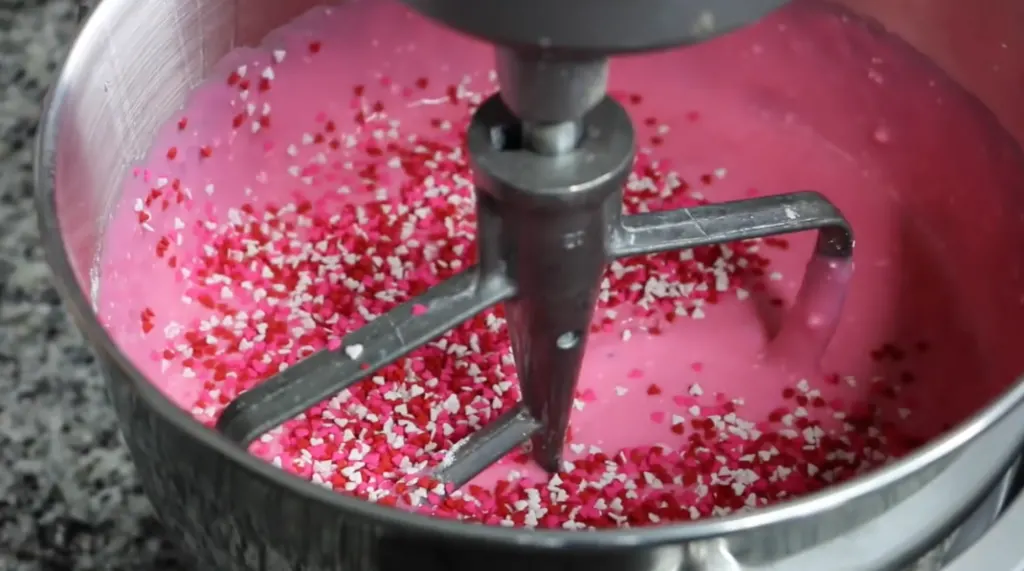
2. Add food coloring (of your choice) to cake batter. I chose a pink funfetti cake but you can choose whatever color you’d like. Mix to incorporate color throughout. Add about 1/2 cup of sprinkles (called “jimmies” in some parts of the country) to the batter and mix.
3. Pour batter into 3 round 8″ pans.


4. Bake at 350 degrees for 15 minutes. Cool completely.
5. Make the buttercream frosting while cakes are cooling.
BUTTERCREAM FROSTING Ingredients:
2 sticks butter
4 cups powdered sugar
2 teaspoons vanilla
2 tablespoons milk
Rainbow Food Coloring (red, orange, yellow, blue, green and purple)
1. Blend all ingredients together. That’s it. I kept the frosting white to let the sprinkles on the outside stand out.
2. Stack the layers of cake and frost in between layers.


3. Completely frost the outside of the cake into a smooth layer.


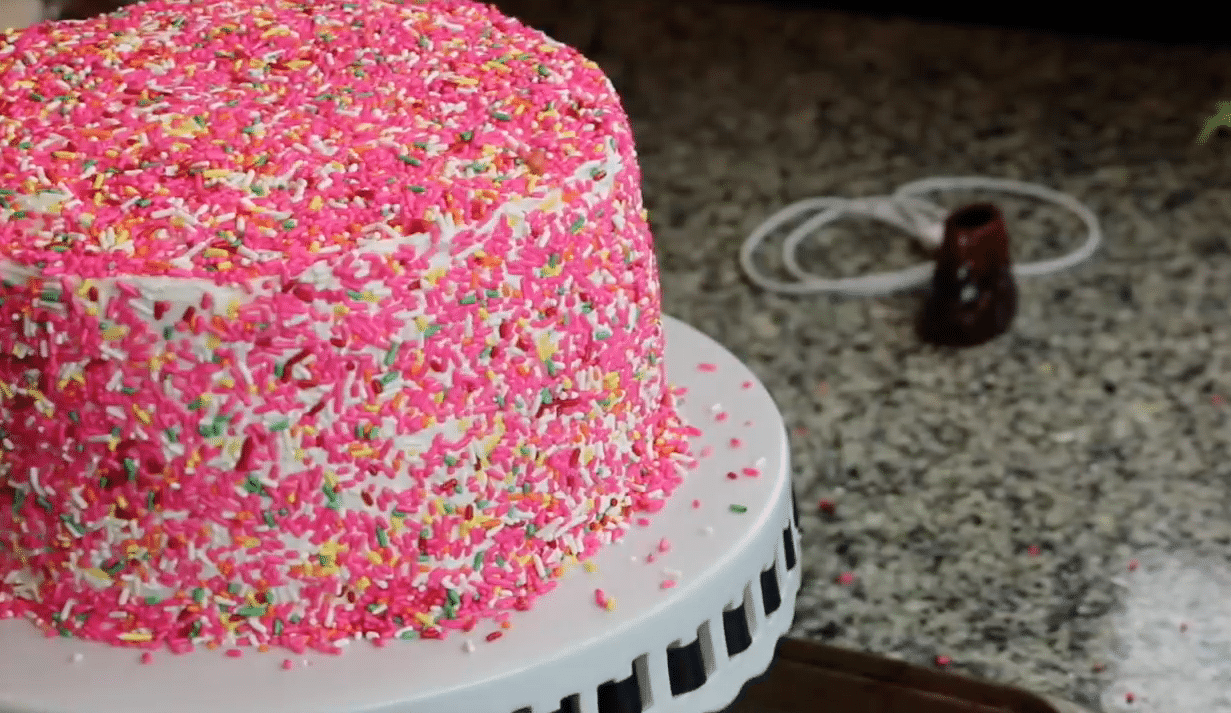
4. Now this is where things can get a bit messy if you aren’t careful. Take small handfuls of sprinkles and lightly press against the cake frosting. You have to do this immediately after frosting the cake BEFORE the frost sets or they won’t still very well.


5. Do this sprinkle smashing method around the cake and then lightly sprinkle more jimmies on top to completely cover.


6. That’s it. You are done and your cake looks amazing!

If you’d like more fun cake ideas, try this unicorn one, this one or this one.

Rainbow Sprinkle Funfetti Cake
Ingredients
Cake Ingredients
- 2 Vanilla Cake Mixes
- egg, water and oil for the cake mix
- Food Coloring (your choice)
- Sprinkles
Vanilla Buttercream Frosting Ingredients
- 2 sticks butter
- 4 cups powdered sugar
- 2 tsp vanilla
- 2 tbsp milk (or heavy cream)
- Rainbow Food Coloring
Instructions
- Make the 2 (two) vanilla or white cake mixes according to the box instructions. (Or you can make your own homemade cake) I chose a pink funfetti cake but you can choose whatever color you’d like.
- Add food coloring (of your choice) to cake batter. Mix to incorporate color throughout. Add about 1/2 cup of sprinkles (called “jimmies” in some parts of the country) to the batter and mix.
- Pour batter into 3 round 8″ pans.
- Bake at 350 degrees for 15 minutes. Cool completely.
- ake the buttercream frosting while cakes are cooling.
Buttercream Instructions
- Blend all ingredients together. That’s it. I kept the frosting white to let the sprinkles on the outside stand out.
Decorating the Cake
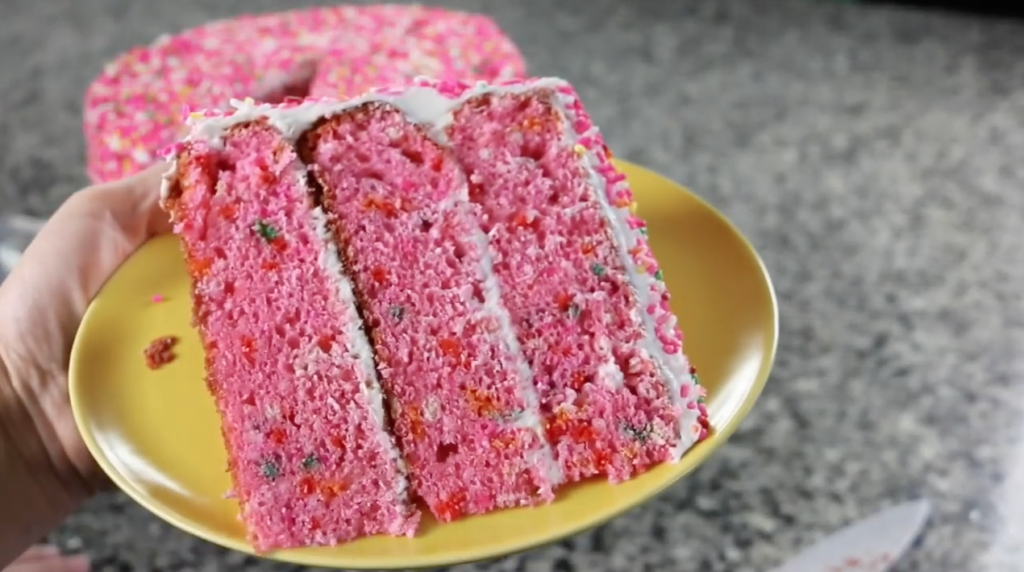
- Stack the layers of cake and frost in between layers.
- Completely frost the outside of the cake into a smooth layer.
- Now this is where things can get a bit messy if you aren’t careful. Take small handfuls of sprinkles and lightly press against the cake frosting. You have to do this immediately after frosting the cake BEFORE the frost sets or they won’t still very well.
- Do this sprinkle smashing method around the cake and then lightly sprinkle more jimmies on top to completely cover.
- That’s it. You are done and your cake looks amazing!